Gimp Text
Hello! Are you wondering something? Something like... how to use text on Gimp? Or do you wonder what Gimp is? Well, let's start with what Gimp is. Gimp is a free software to edit images. It also has paint brushes, and many other tools. Lots of graphic designers use Gimp. Gimp stands for GNU Image Manipulation Program.
So, today I will show you how to do some awesome things with text on Gimp.
Basics
The main thing with text on Gimp is actually creating it. Here is how to create text on Gimp and how to change the color, and font with it.
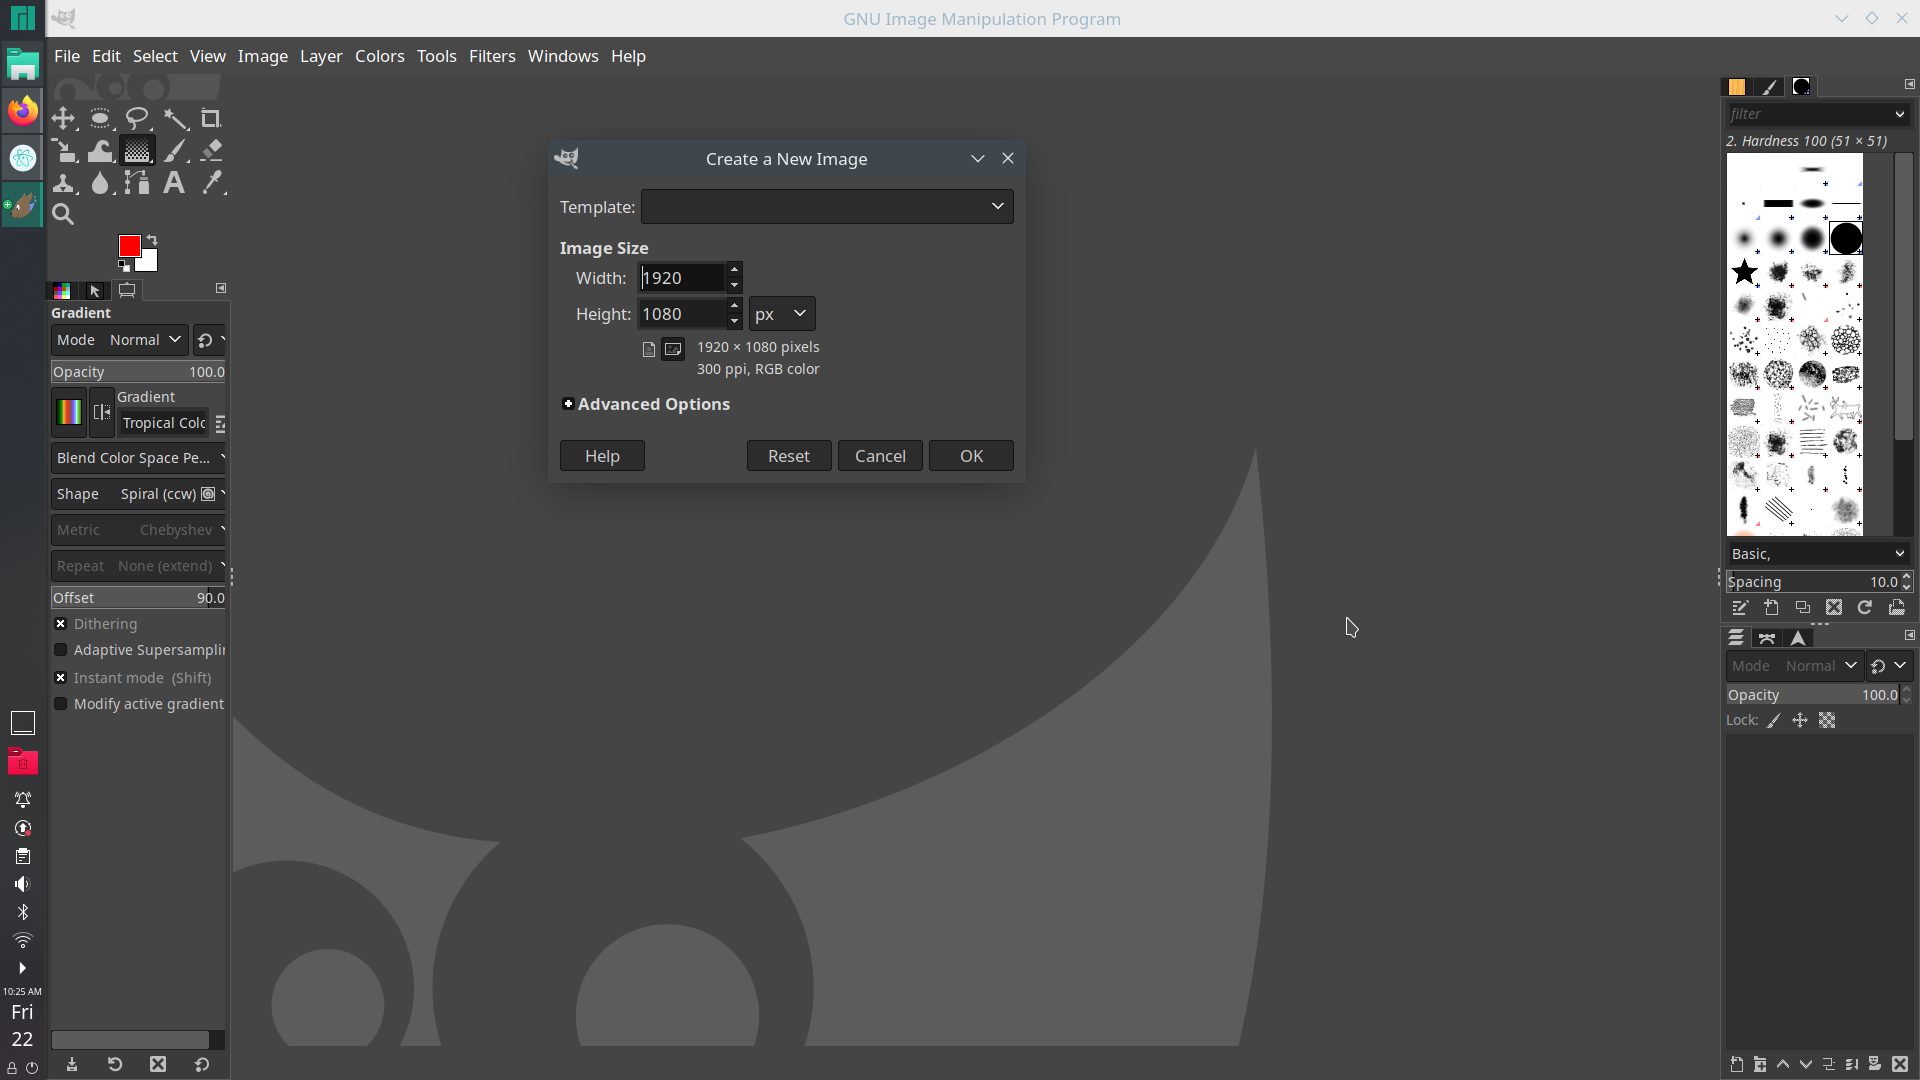
1. Create a new image by going to File then New. Size it big enough to fit your text. I'm going to size it 1920x1080, but you can do whatever.
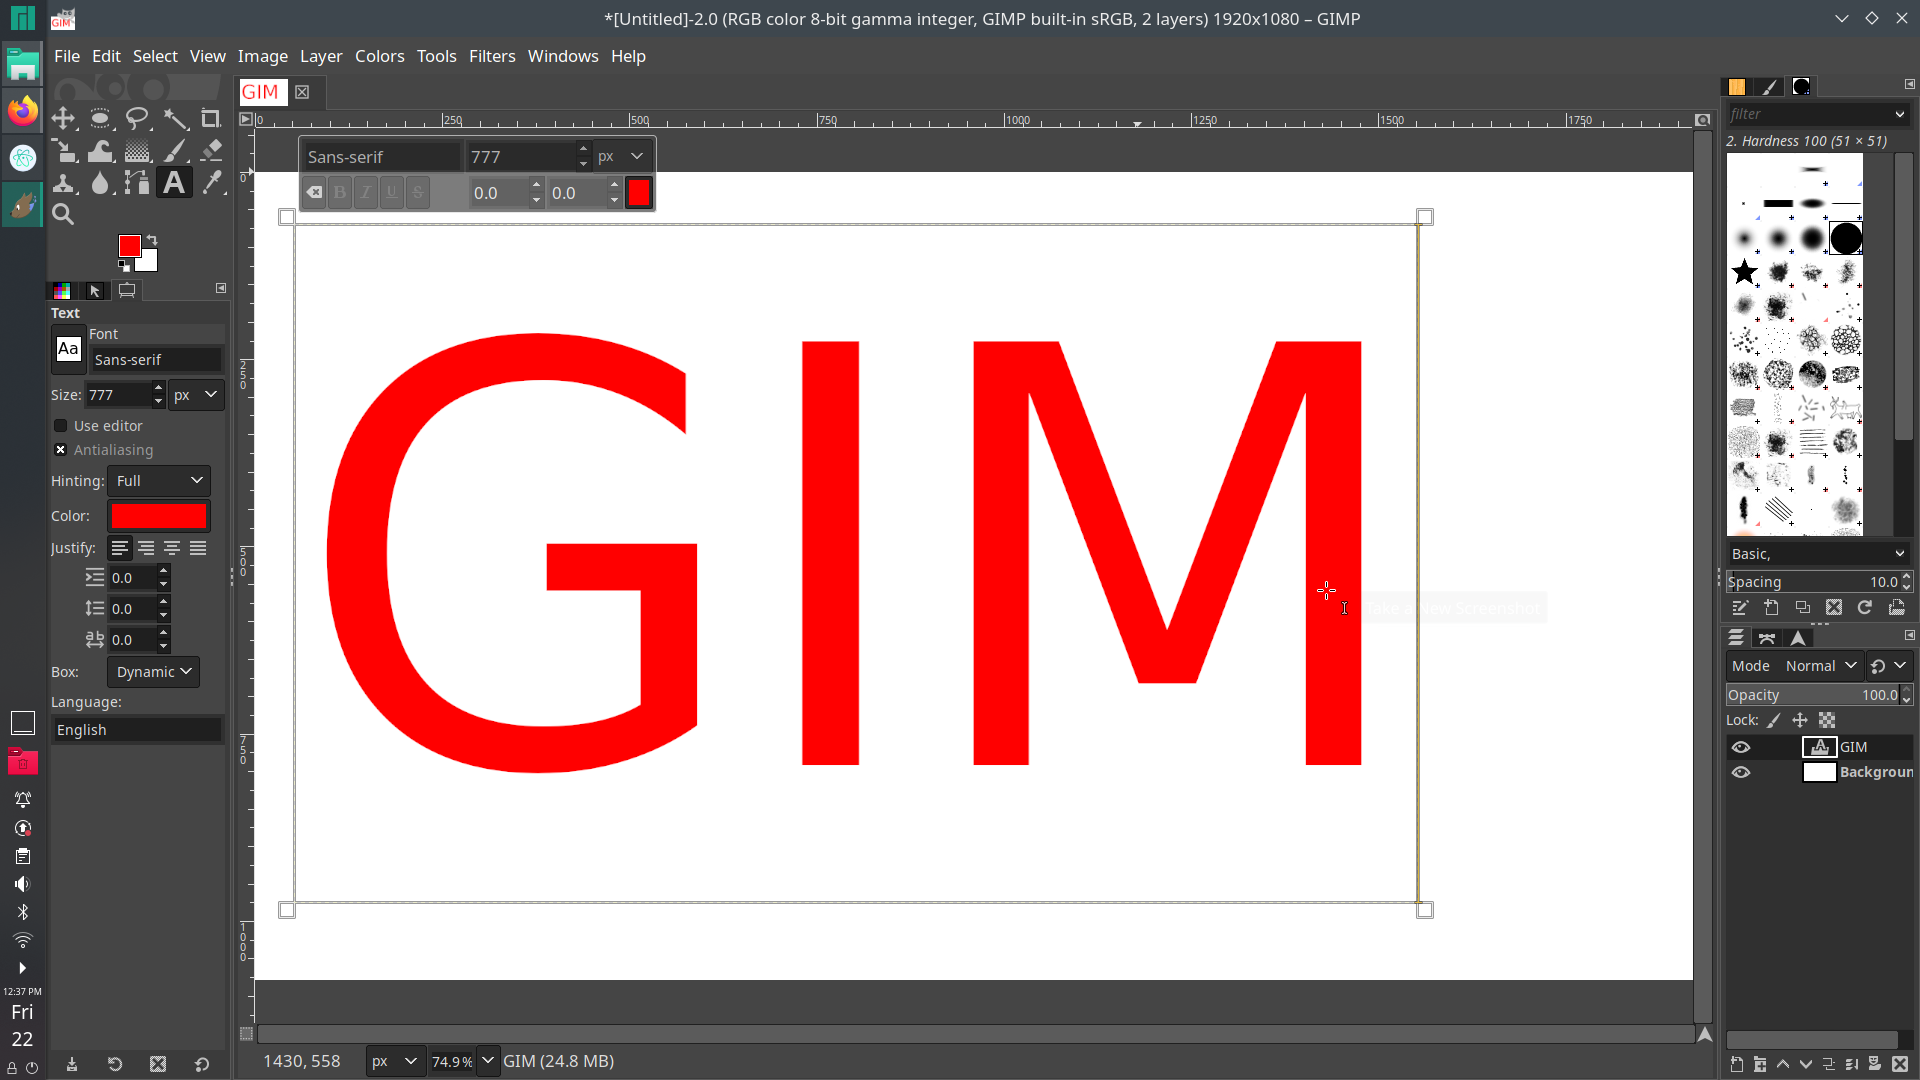
2. Grab the text tool (the capital a) or simply press "t" on your keyboard. Once you have that, type in your text, like GIMP. As you can see in the image, I haven't completed the text because so far I can see that when I type P, it will go off the canvas. So, to solve that, I highlight the text, and decrease the size. Sometimes, the default is to big for this image.
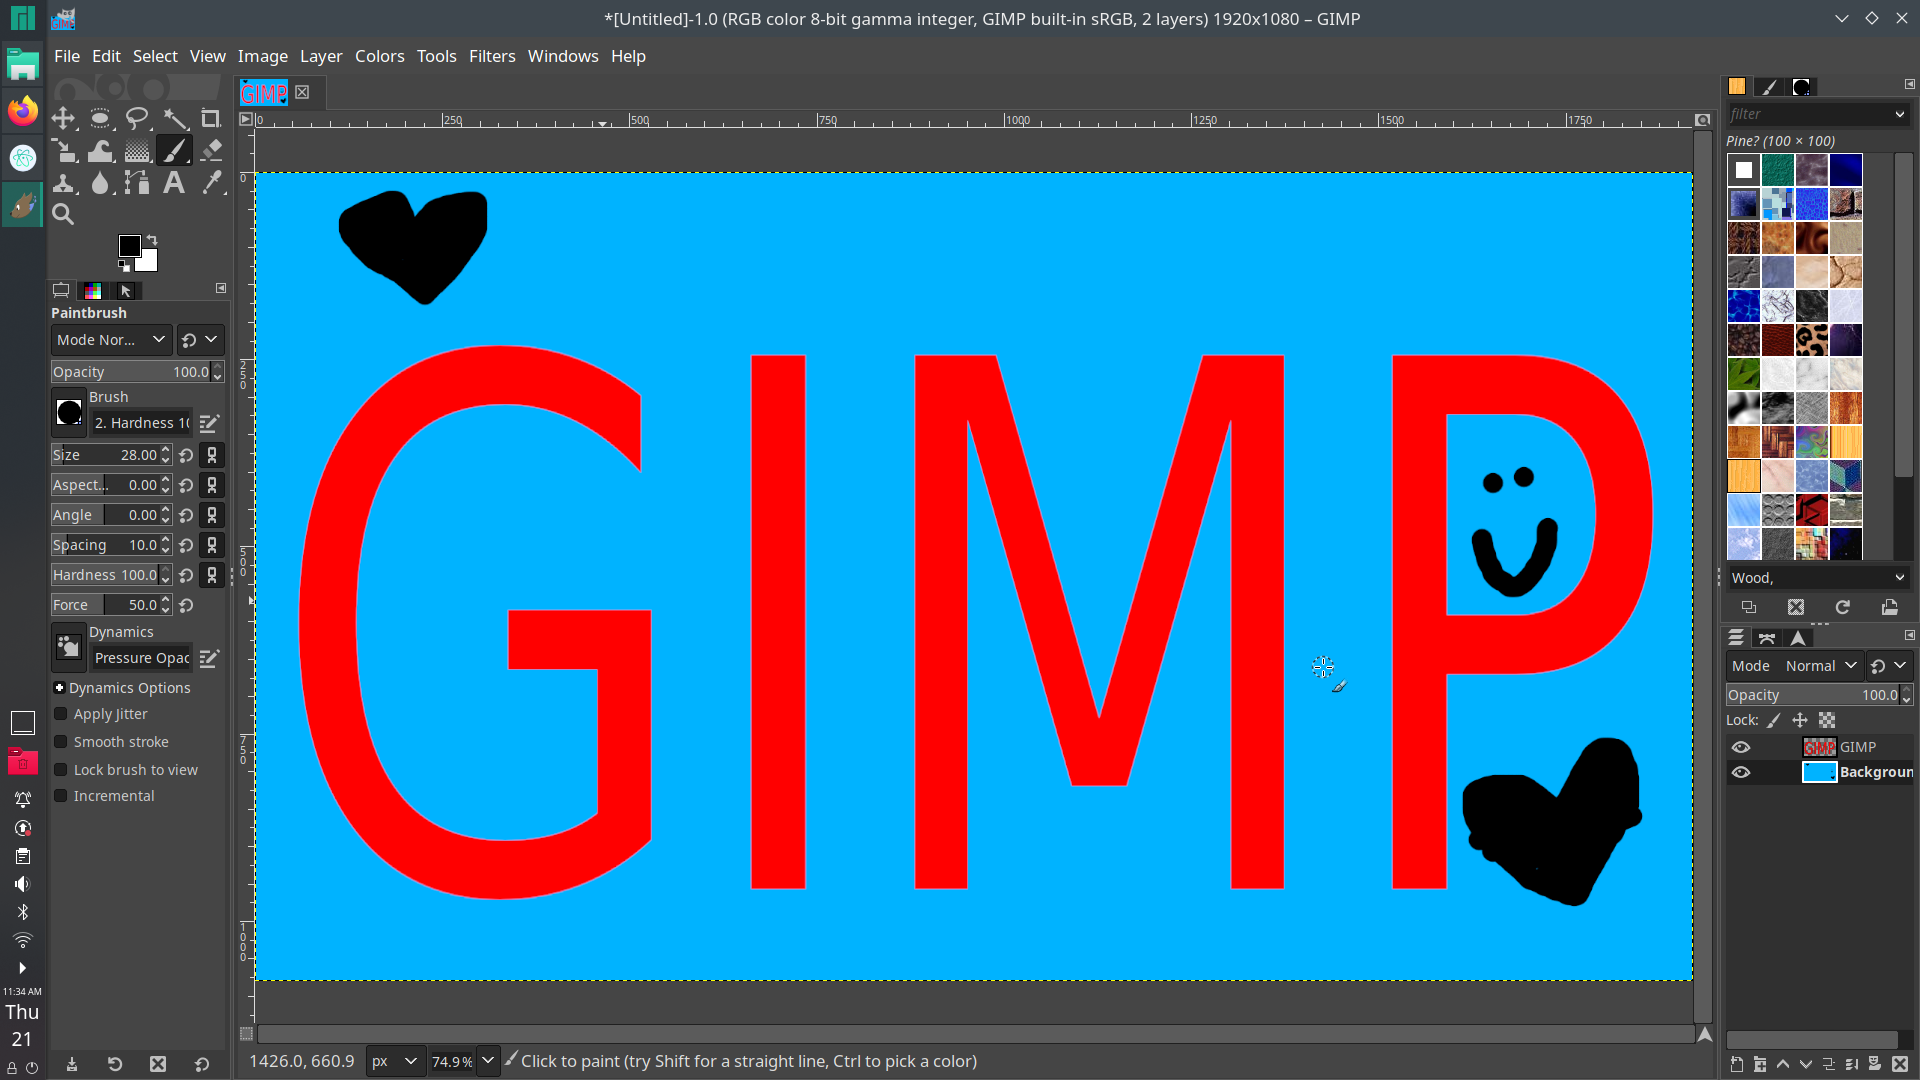
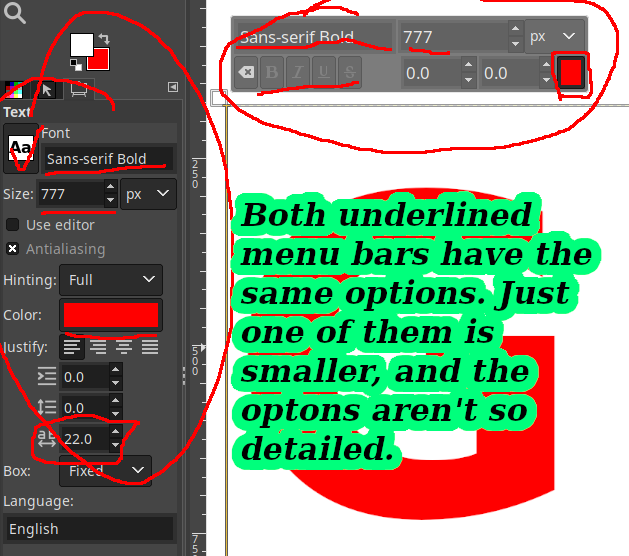
3. If you are still highlighting the text, go to the tool options and then you can change the color, spacing, and font. You can even make it bold!
Put an Image in Text with Gimp
Another thing that you may think is: Can you put an image into text using this program? The answer is...Yes! I've done it many times. So here's how:
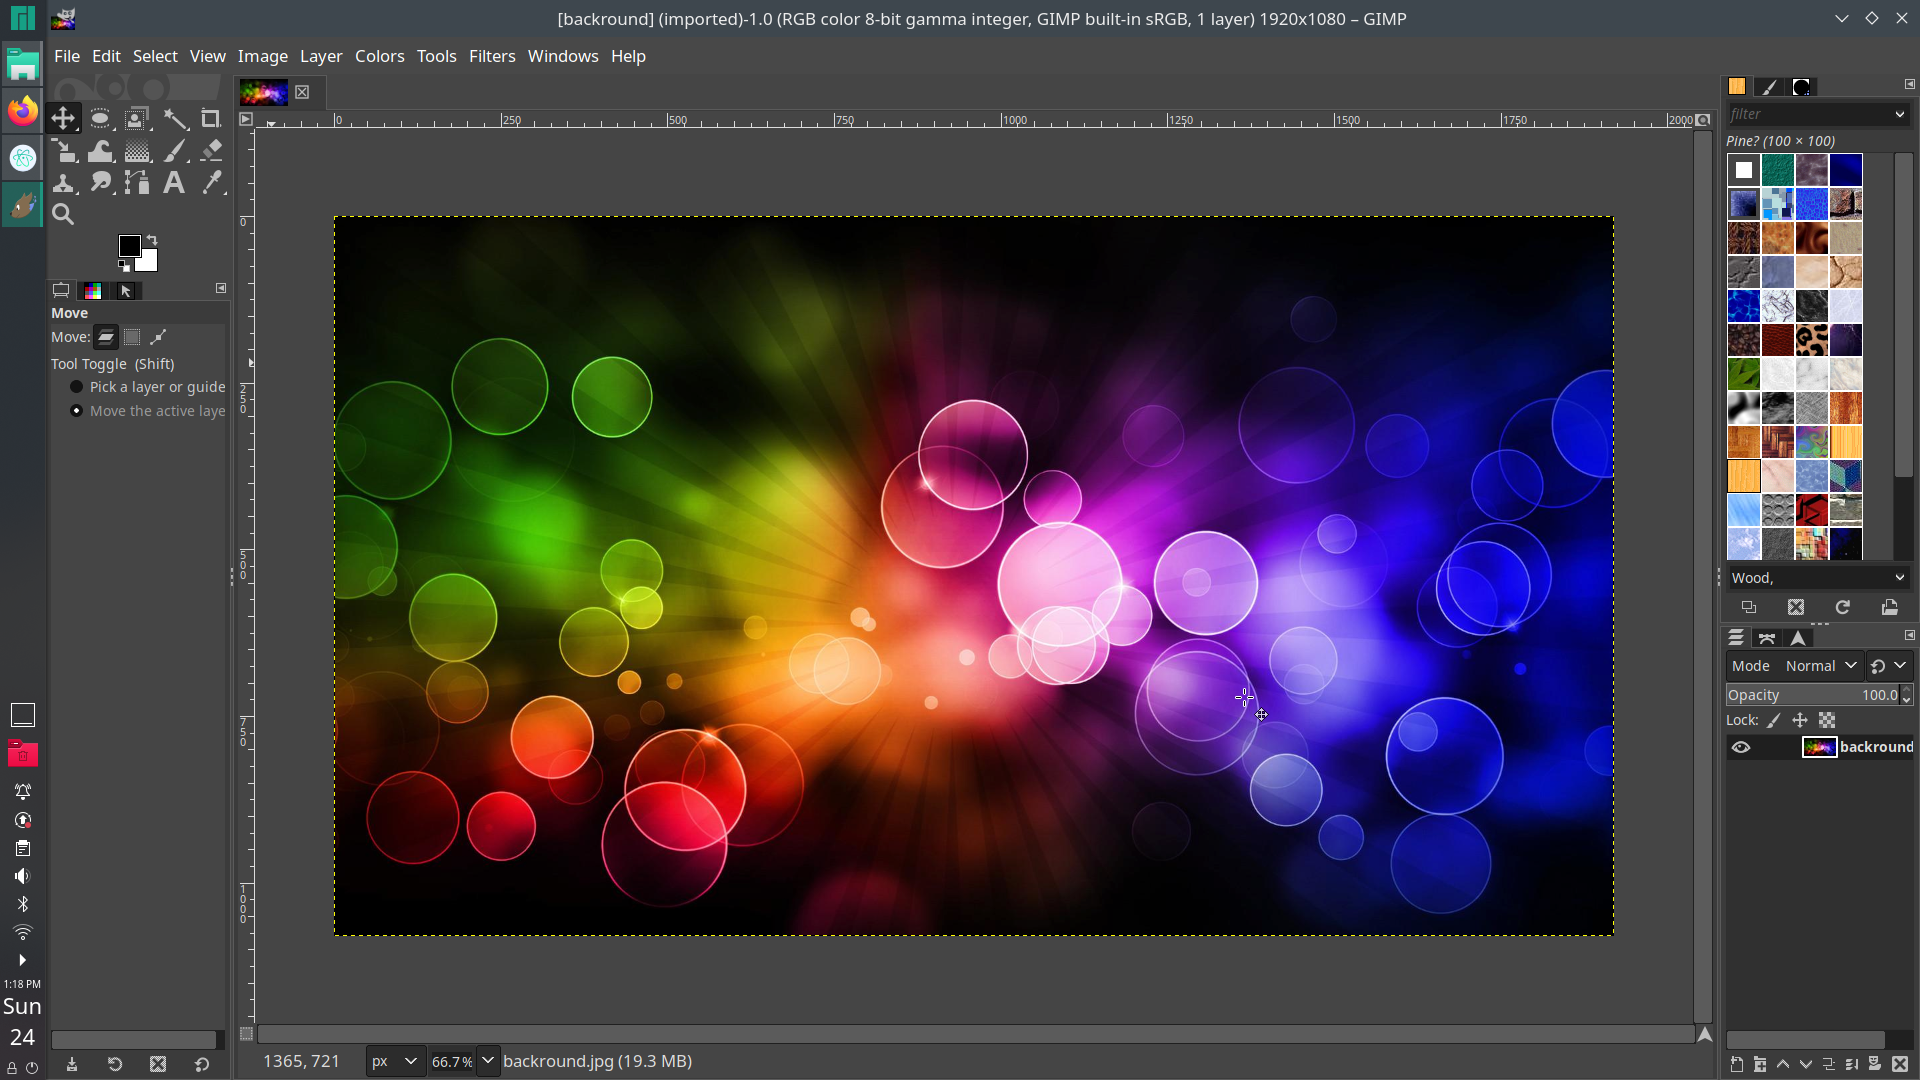
1. Open up your image. I'm opening up a rainbow bubble image. If you want this image, I'll put in a link in here.
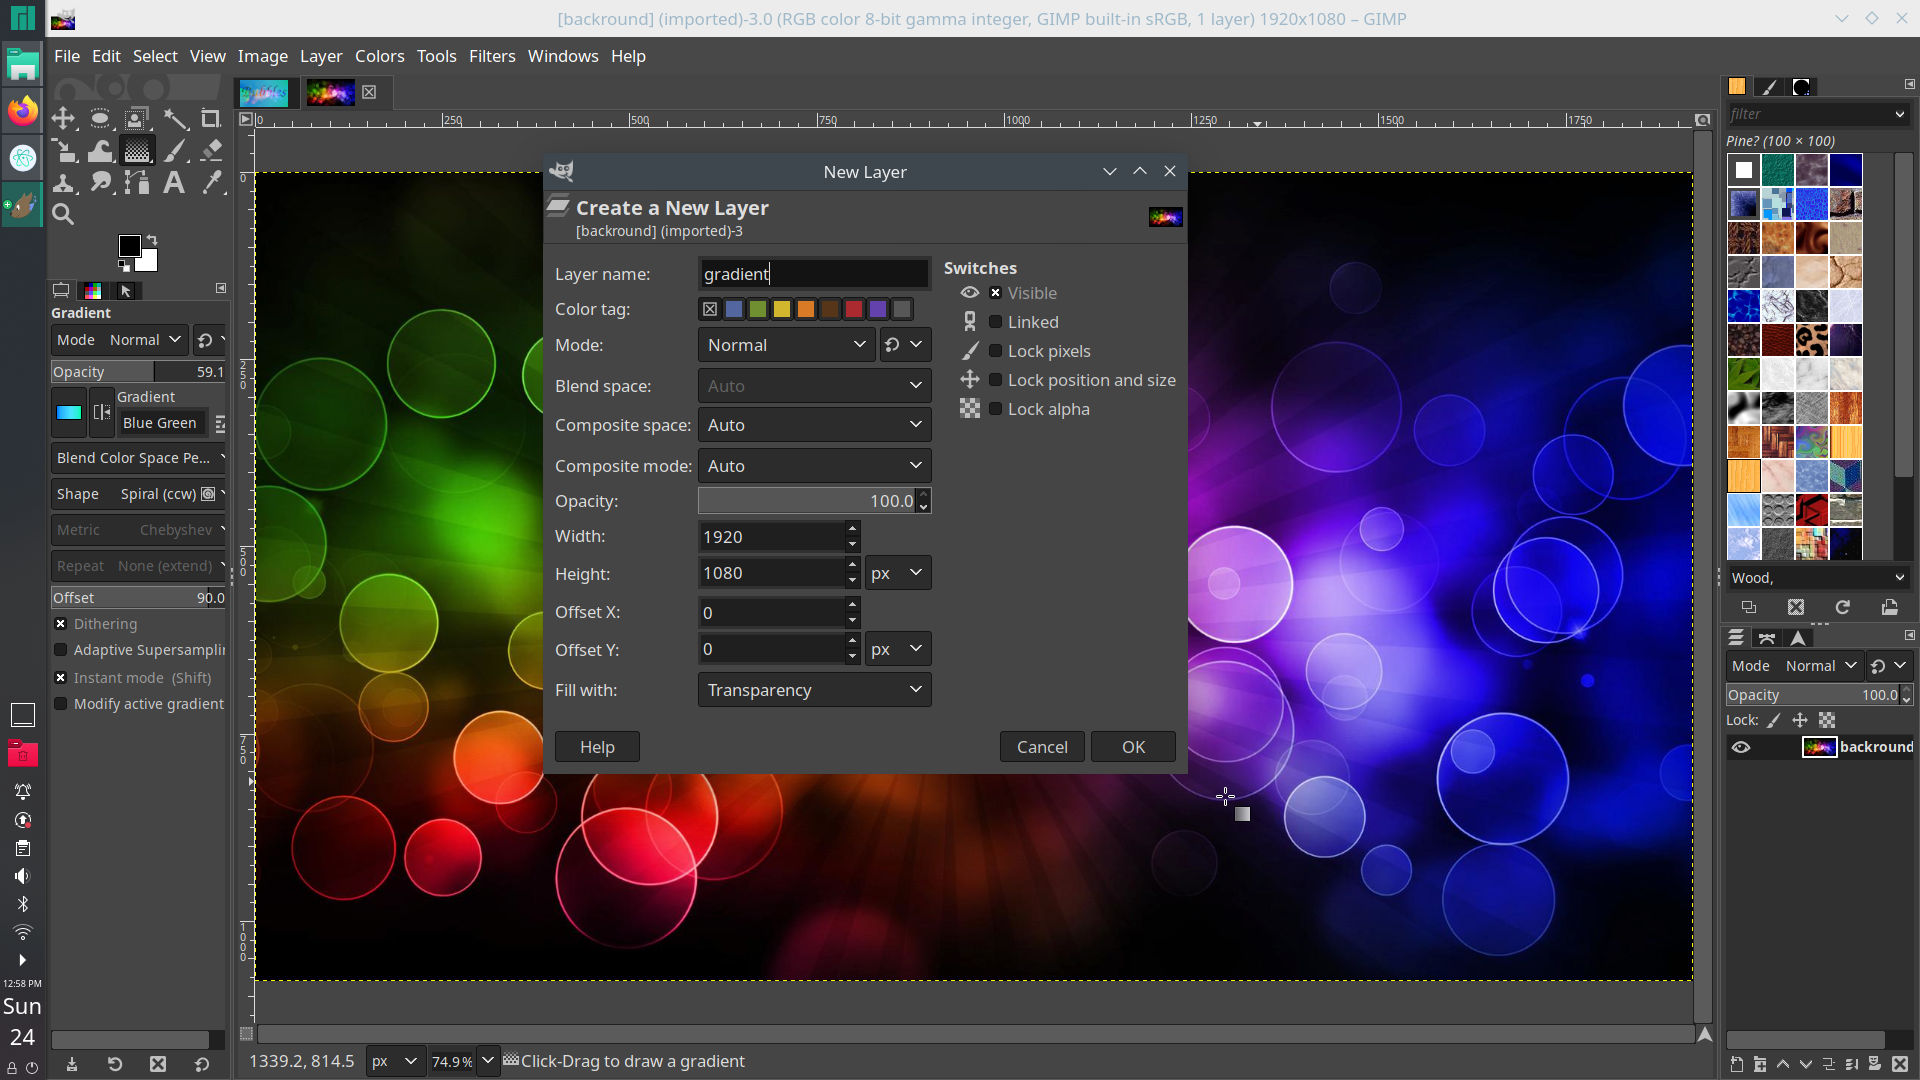
2. Go to the Layers dialog and create a new layer. This can be in any way you'd like. Just create a new layer. Call the layer Gradient and fill it with transparency. Then, leave the rest to the default. Click OK to create it.
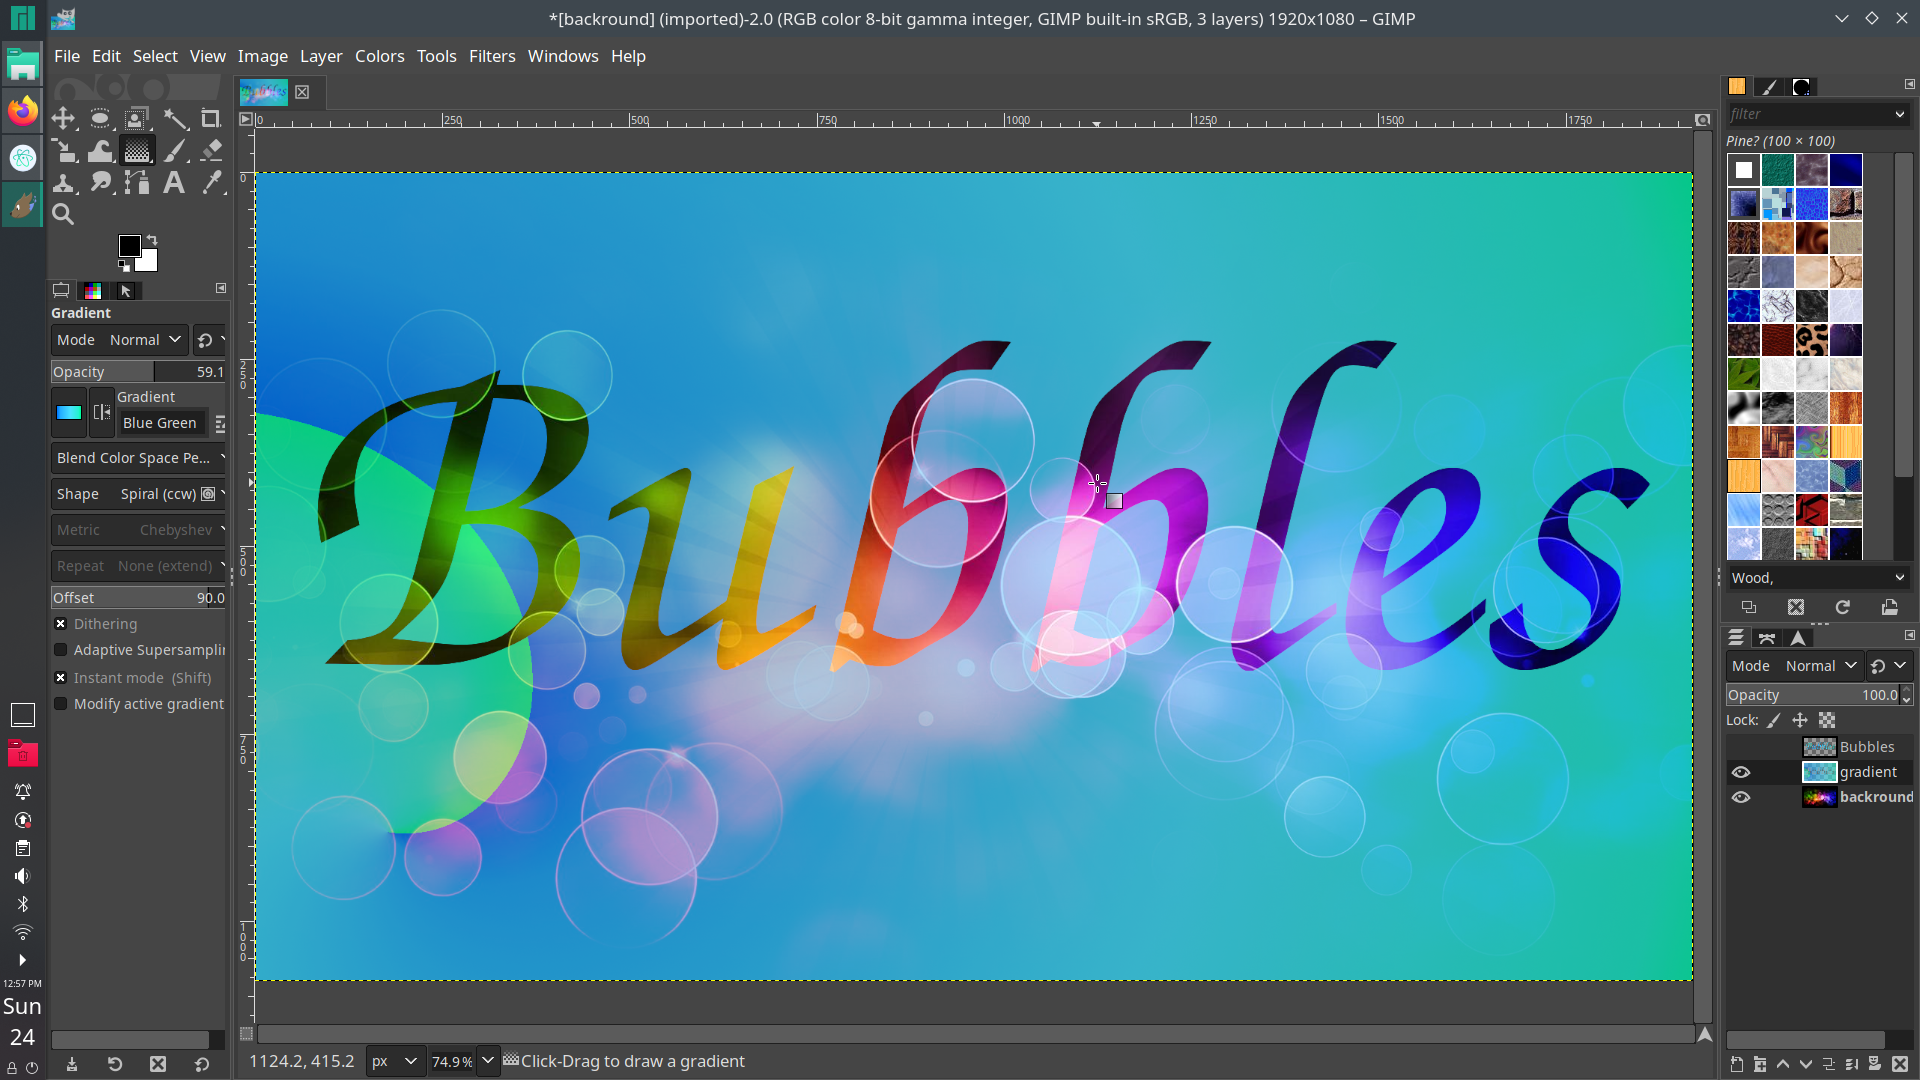
3. With that Gradient layer, grab the gradient tool. Turn down the opacity to around 59%. Then, click and drag on your image to create the gradient.

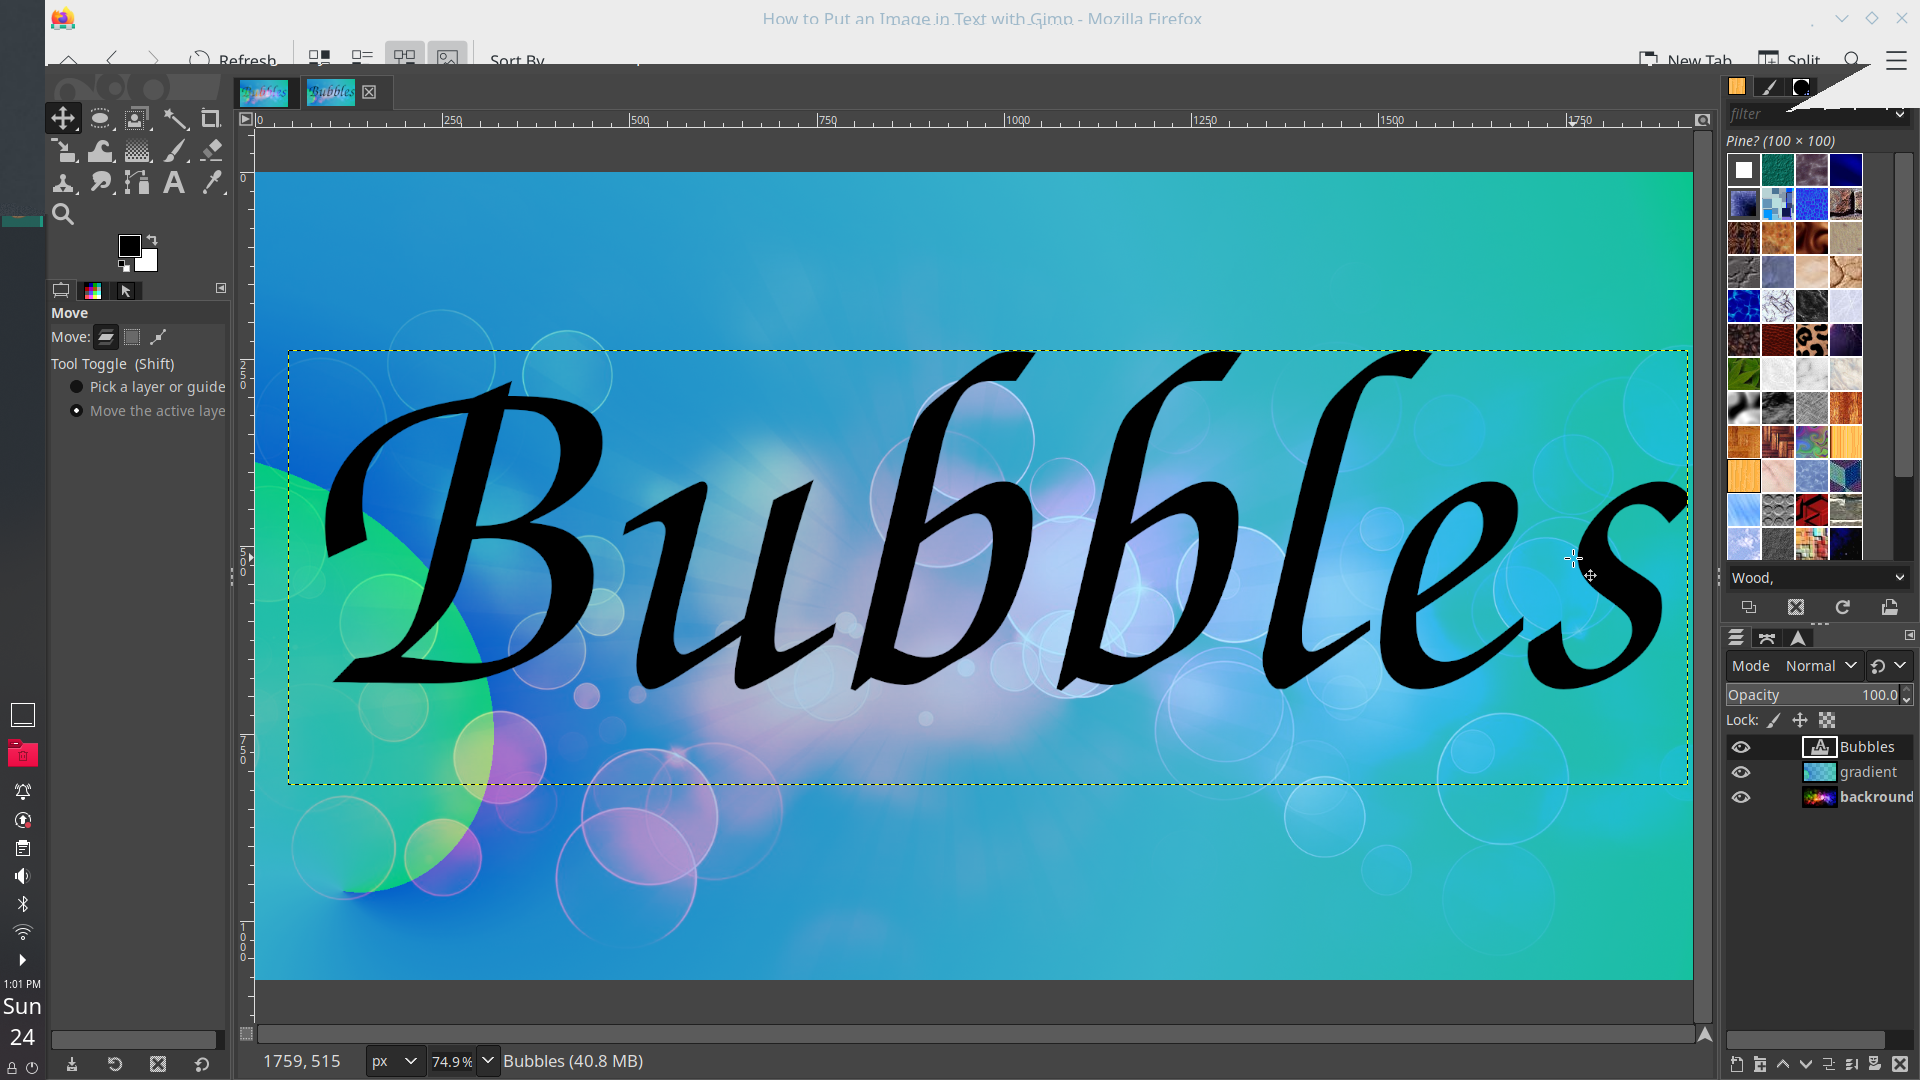
4. Grab the text tool and type what you want. If you want, you can change the color of the text so it is easier to see. I'm going to type in Bubbles with the font Z003 Medium Italic, but any font works, but the bolder ones work best.
5. Right click on the text layer and click on Alpha to Selection. There should be a selection (dotted outlines) around your text.

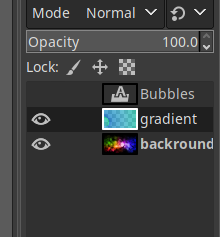
6. Turn off the visibility of the text layer by clicking on the eyeball icon next to the layer. You should only be able to see the dotted outline.
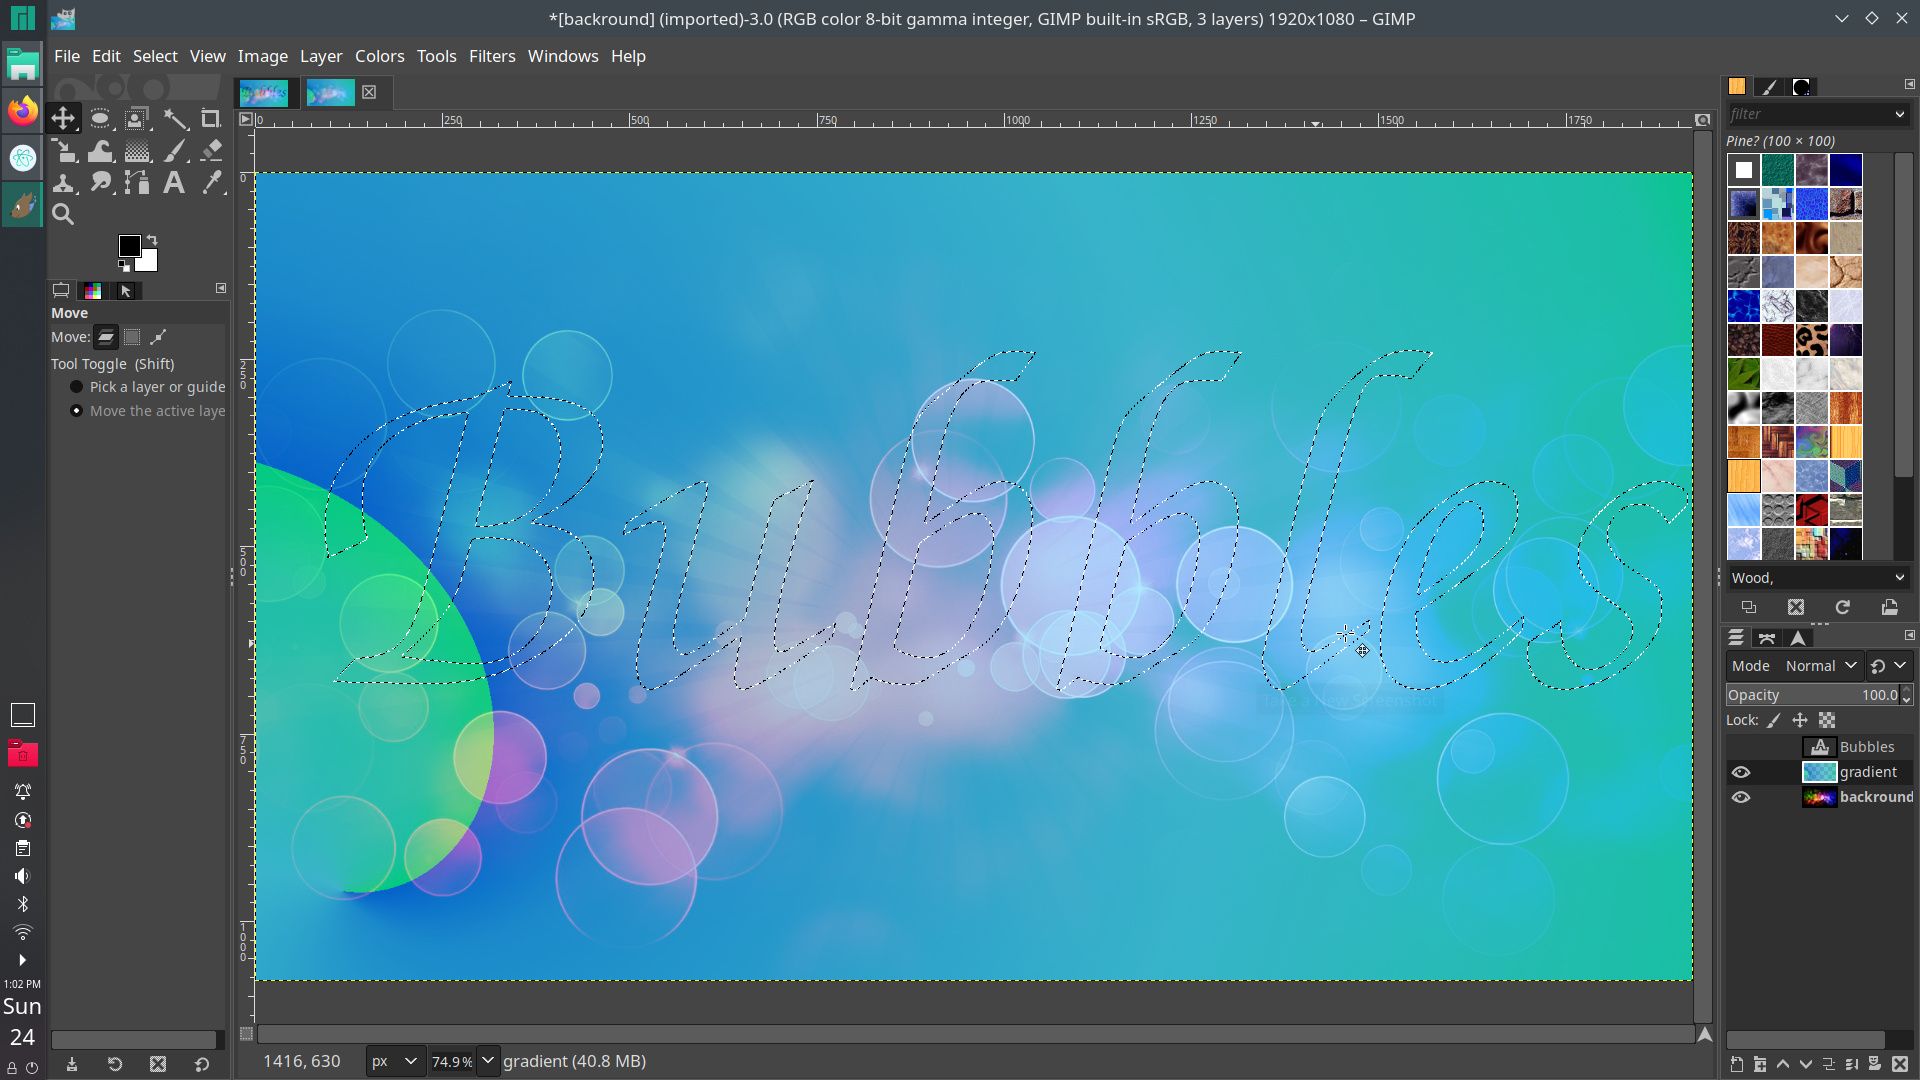
7. Now, make sure to click on the Gradient layer.
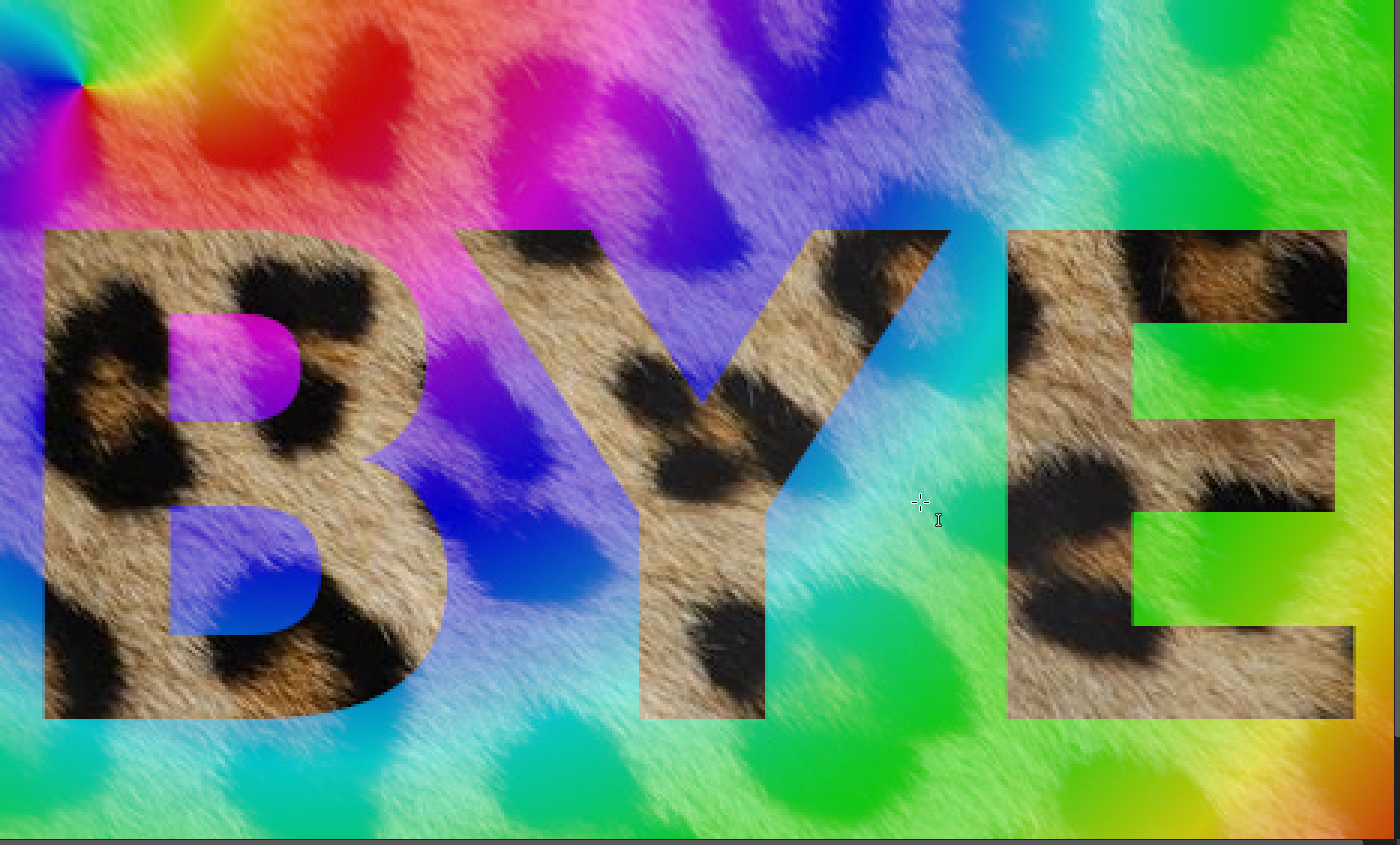
8. Click Delete on your keyboard or if you have a Mac computer, go to Edit-Clear. This should make a hole through the gradient layer into your image. To get rid of the dotted outline, type: Shift+Ctrl+a. If that doesn't work, go to Select-None. That is the way to put an image inside text using Gimp!
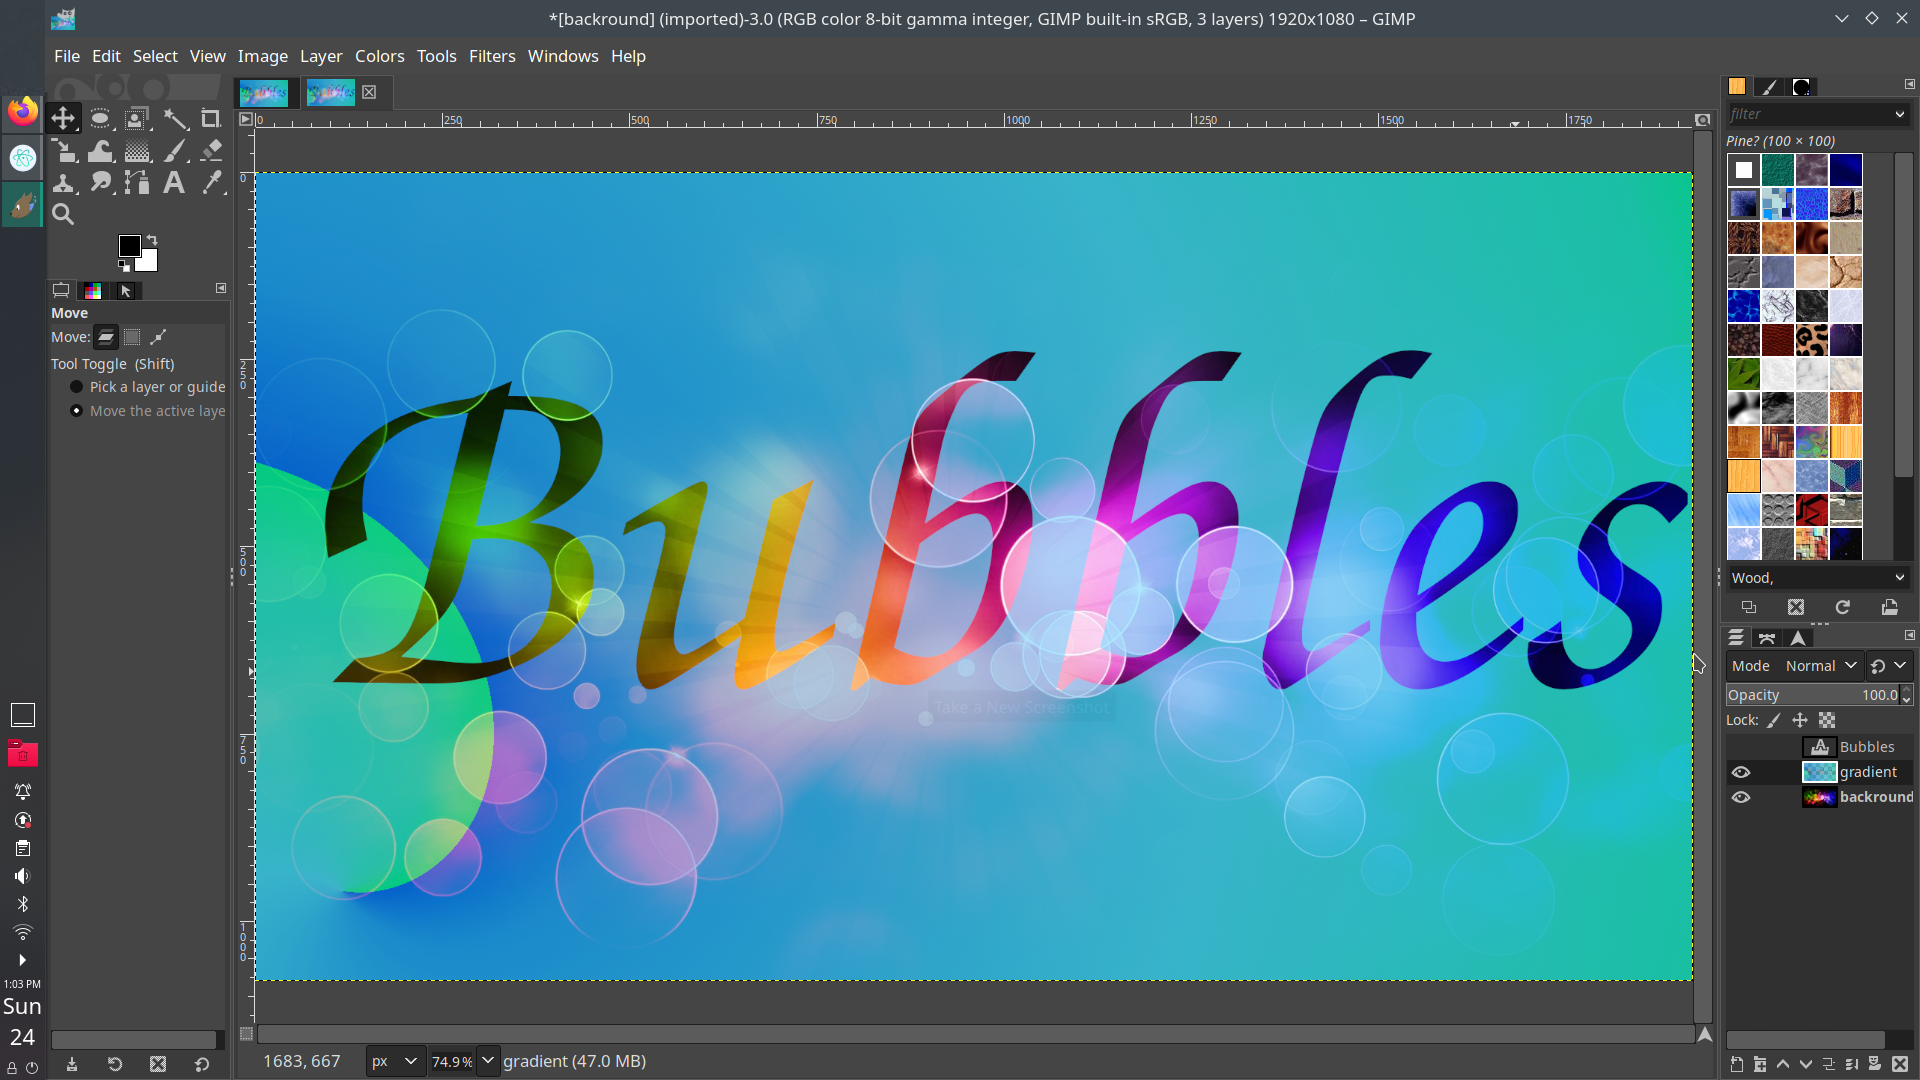
Here's the image. You can right click on it and save it.
Wrap Text In a Circle Logo with Gimp
People want cool logo designs. One of these cool designs is wrapping text around a circle. So here is a way to do that. This is a more complex design though.
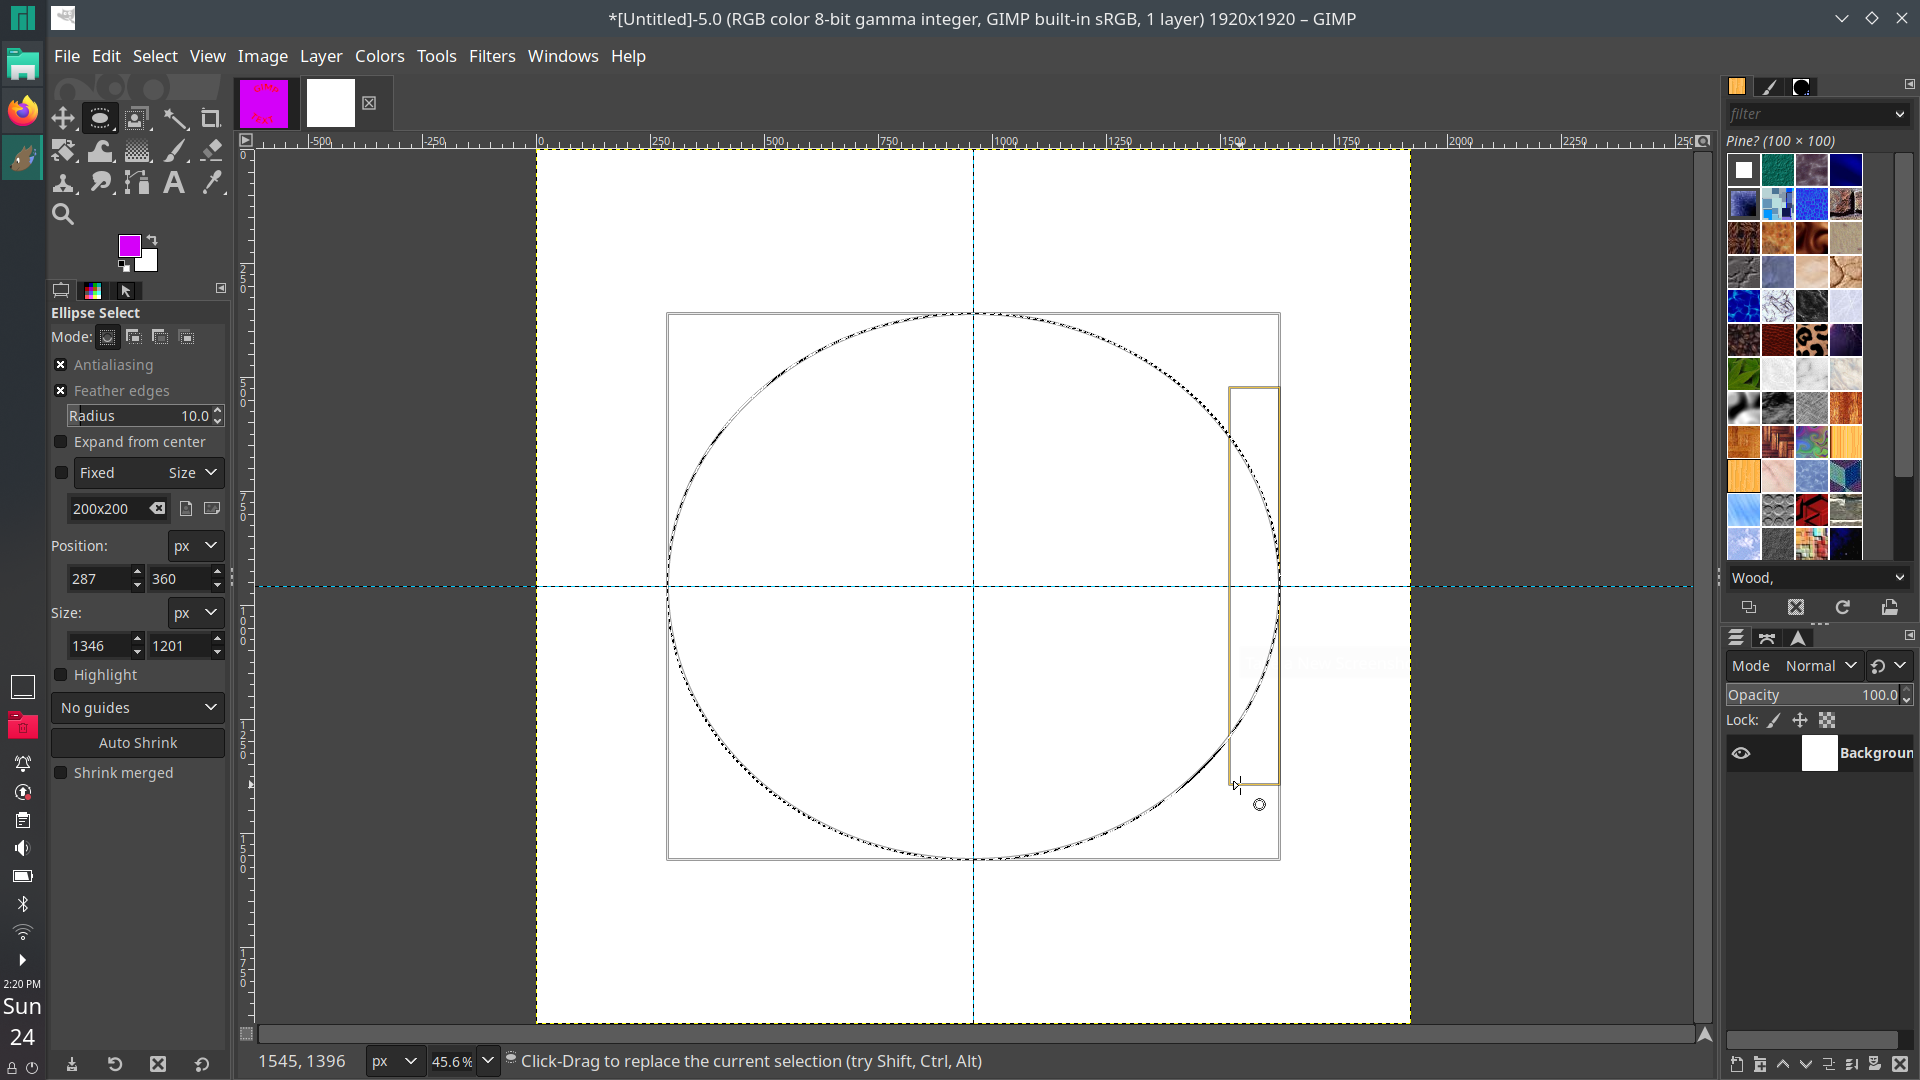
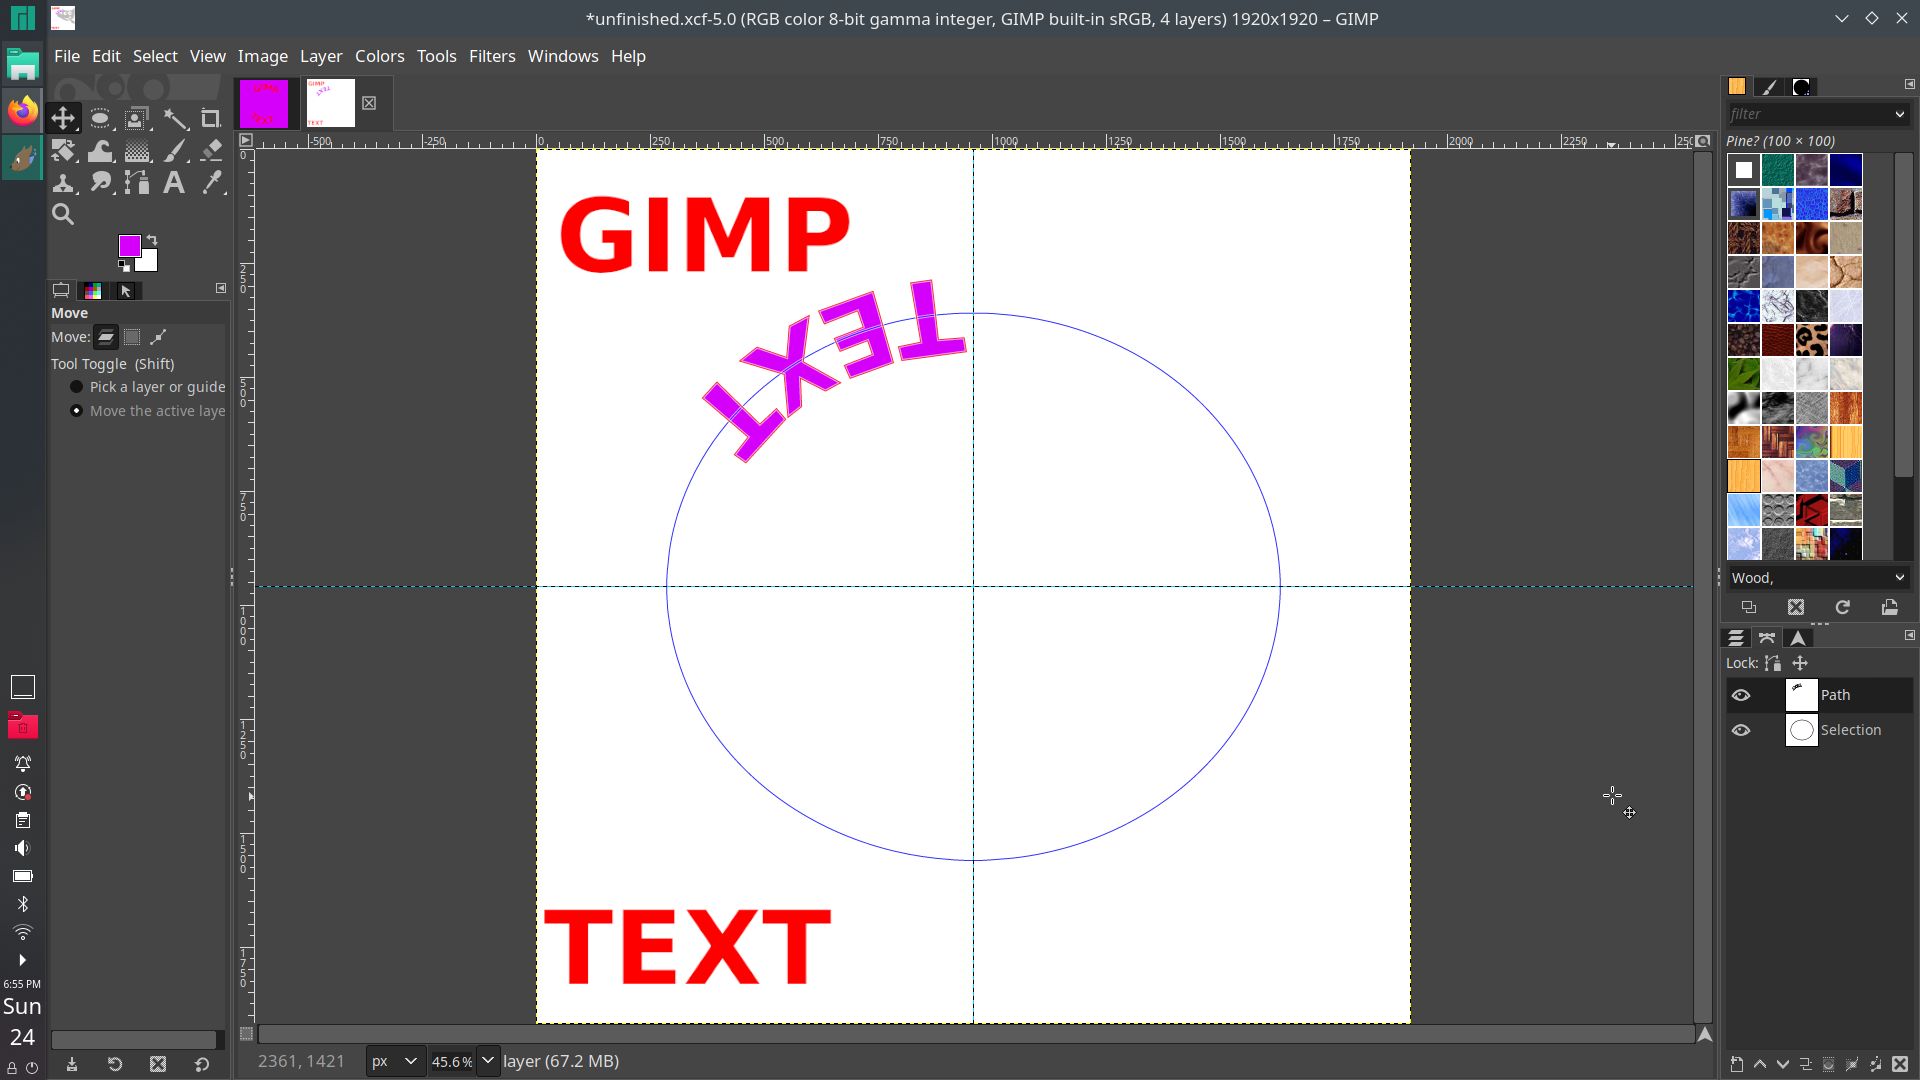
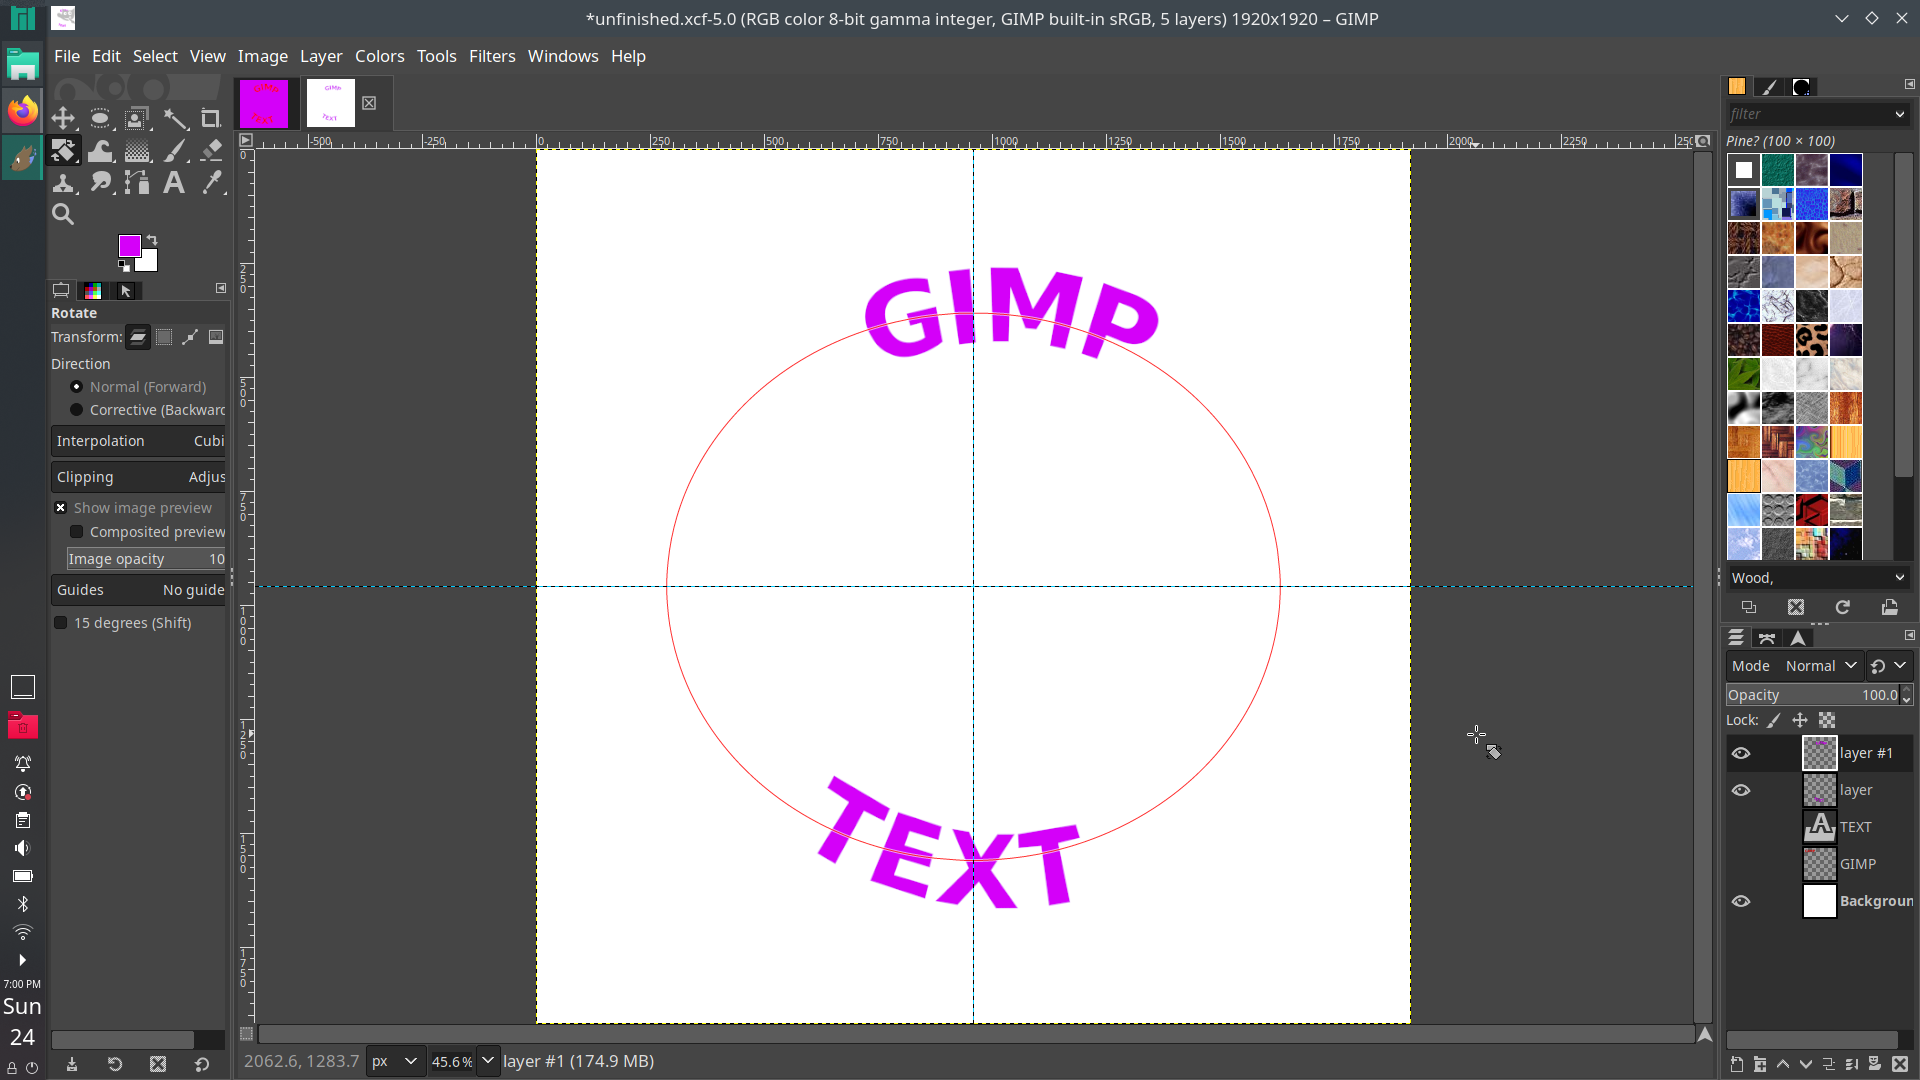
1. So, the first hing to do is open up our image to work with. I'm going to size mine by 1920x1920px, but you can do any rectangluar shape, but it has to be similar to a square. Now, go to Image-New Guides(by Percent) and make sure the number is fifty and the lines go Horizontally and then click OK. Do the same thing again but with Vertical lines. Next, add a circle selection by clicking on the Elipse tool and creating a circle around the middle of the guides.
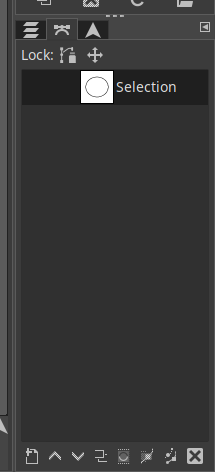
2. Now, go to the Paths dialog and go to the bottom. Somewhere, it'll look like a genie's bottle. It should say this when your cursor goes over it: Selection to Path. When you click on it, you should see a new path called Selection pop up. Turn on the visibility of this path.
3. Now, create the text that will go around it. Type two lines, then use the move tool and move the text away from the circle.
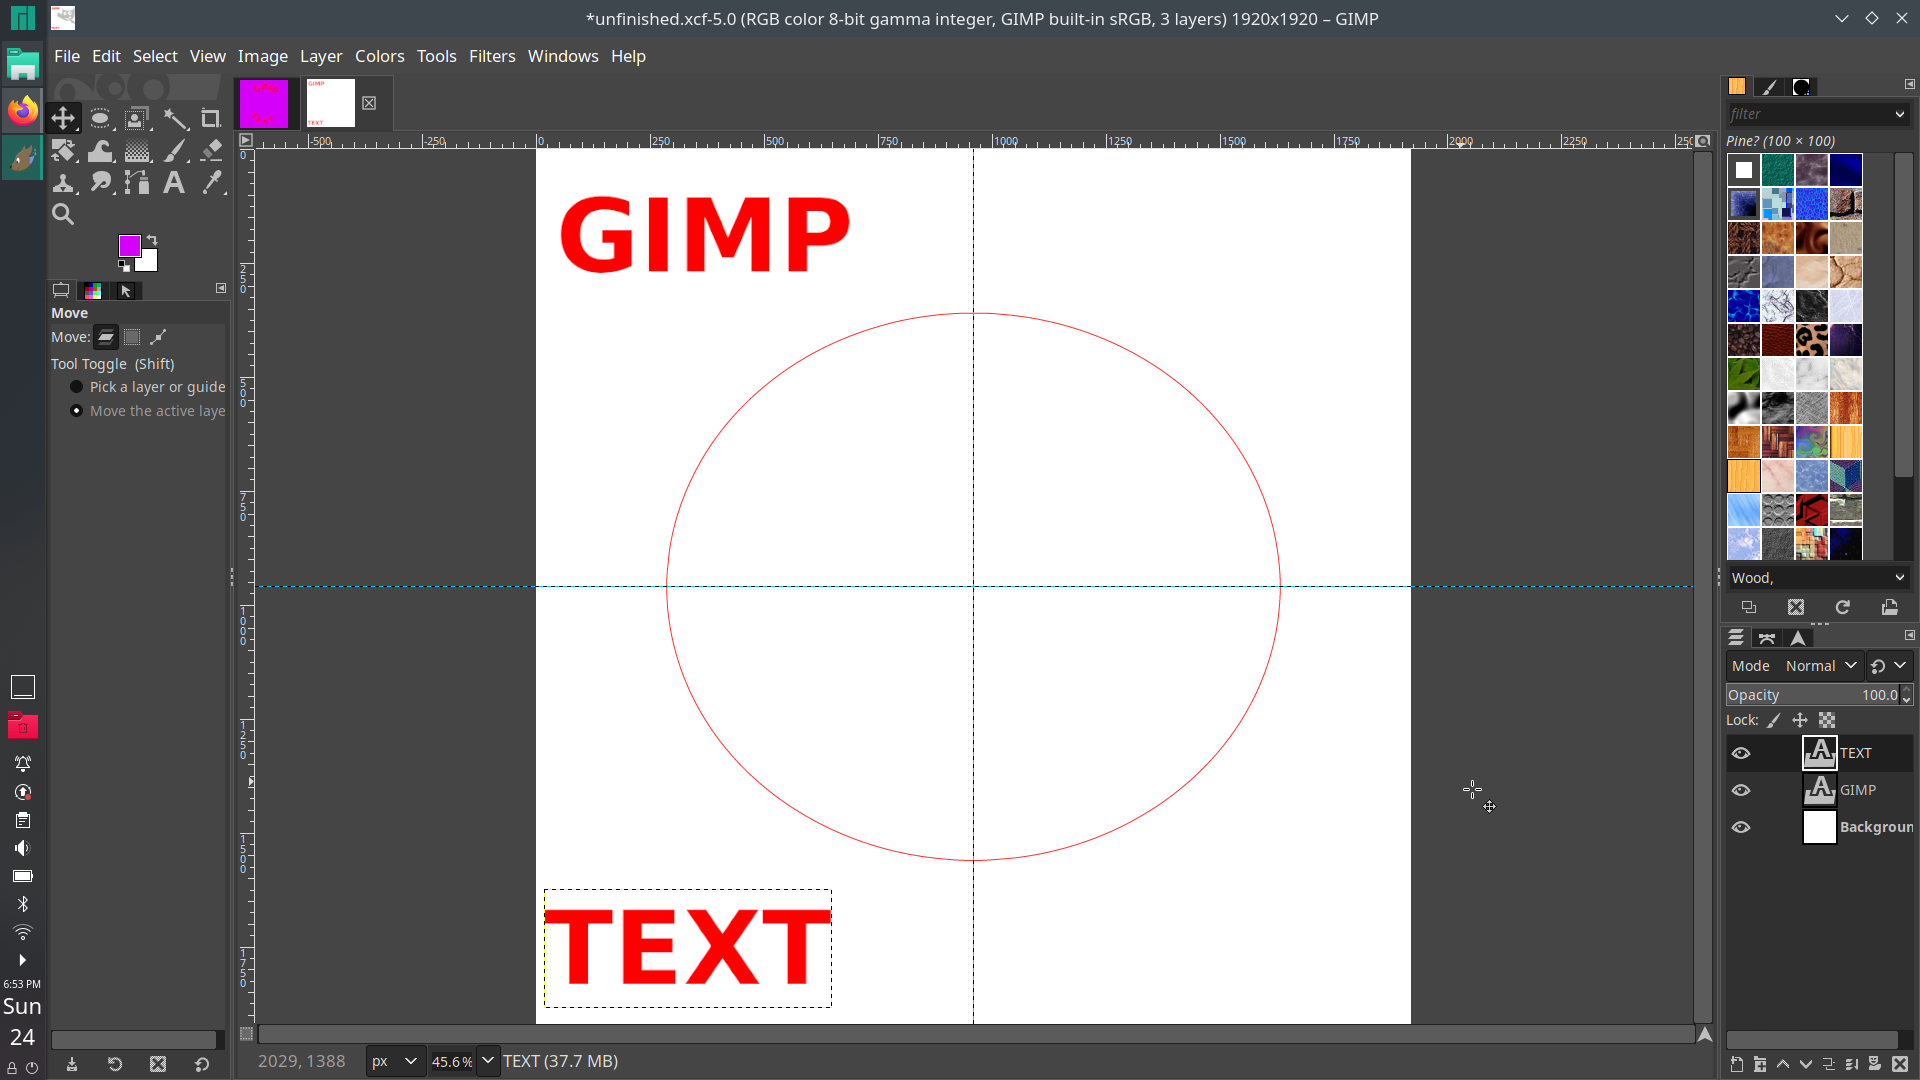
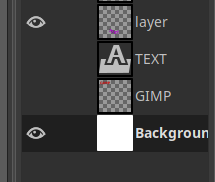
4. Create a new layer. Call it something like, layer, or whatever. Make sure it is filled with transparency.
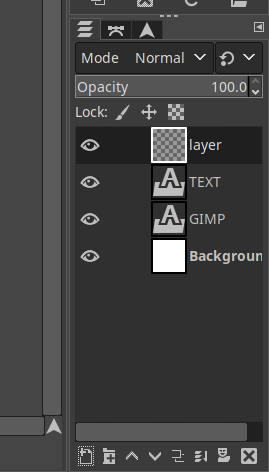
5. Right click on the bottom layer of text and go to Text Along Path. Now, there is another path, but with text!

6. Click on the Layer layer again, and then go back to your Paths dialog. Right click on the text path and go to Path to Selection. Now, use the paintbrush tool and paint inside the text. Once that is done, delete the text path.
7. Grab the rotate tool and rotate the text until it reached the bottom.
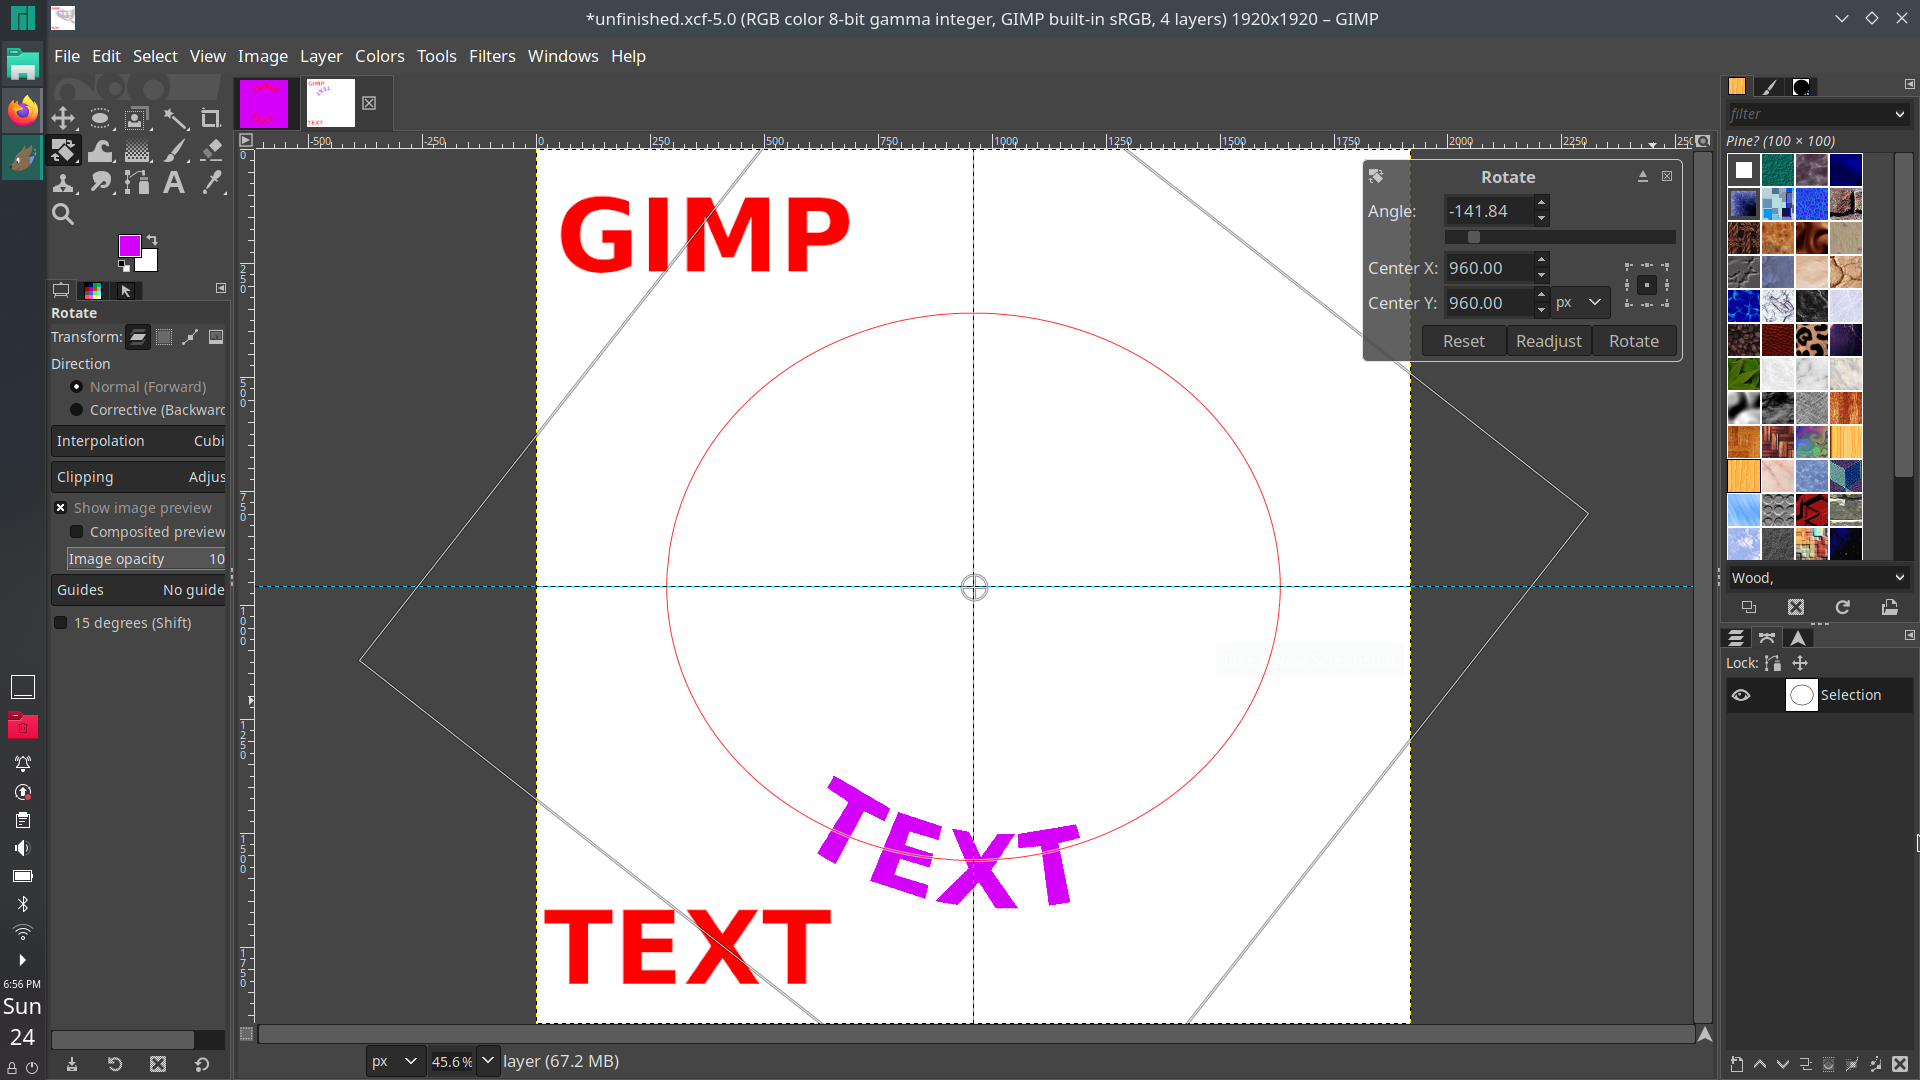
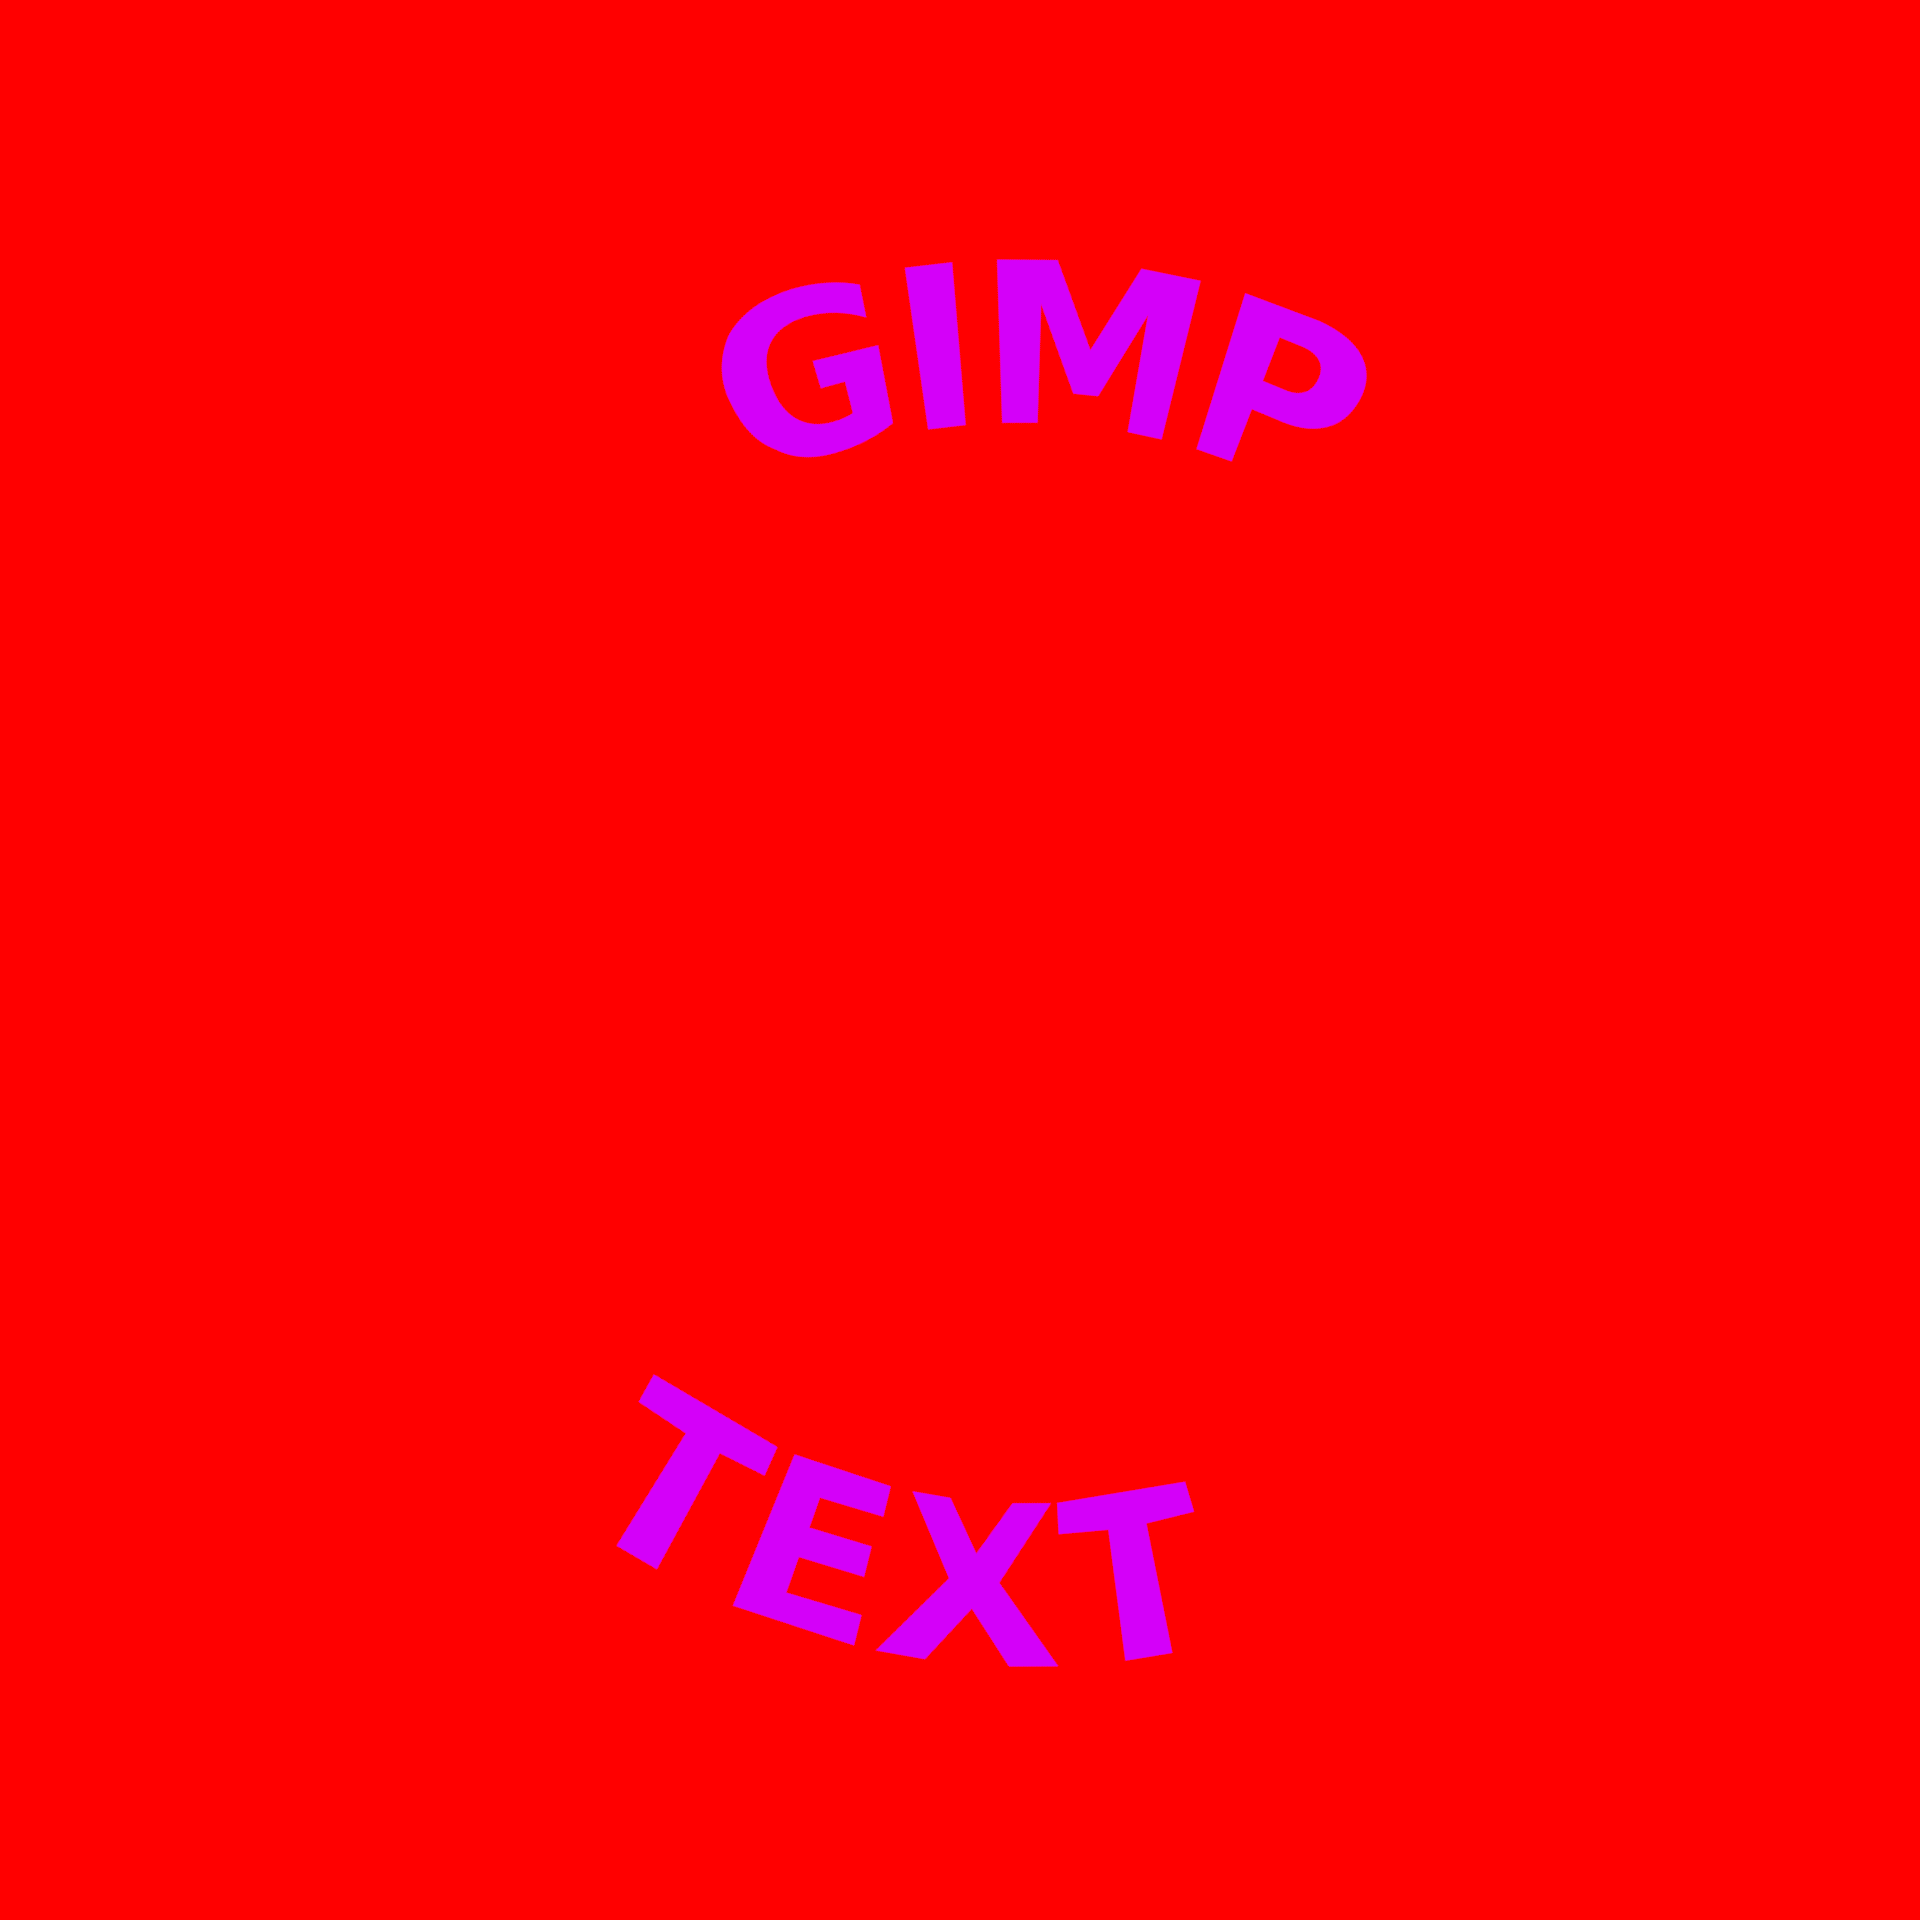
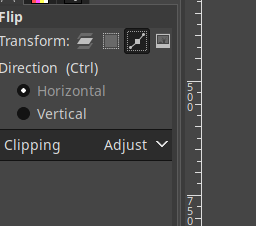
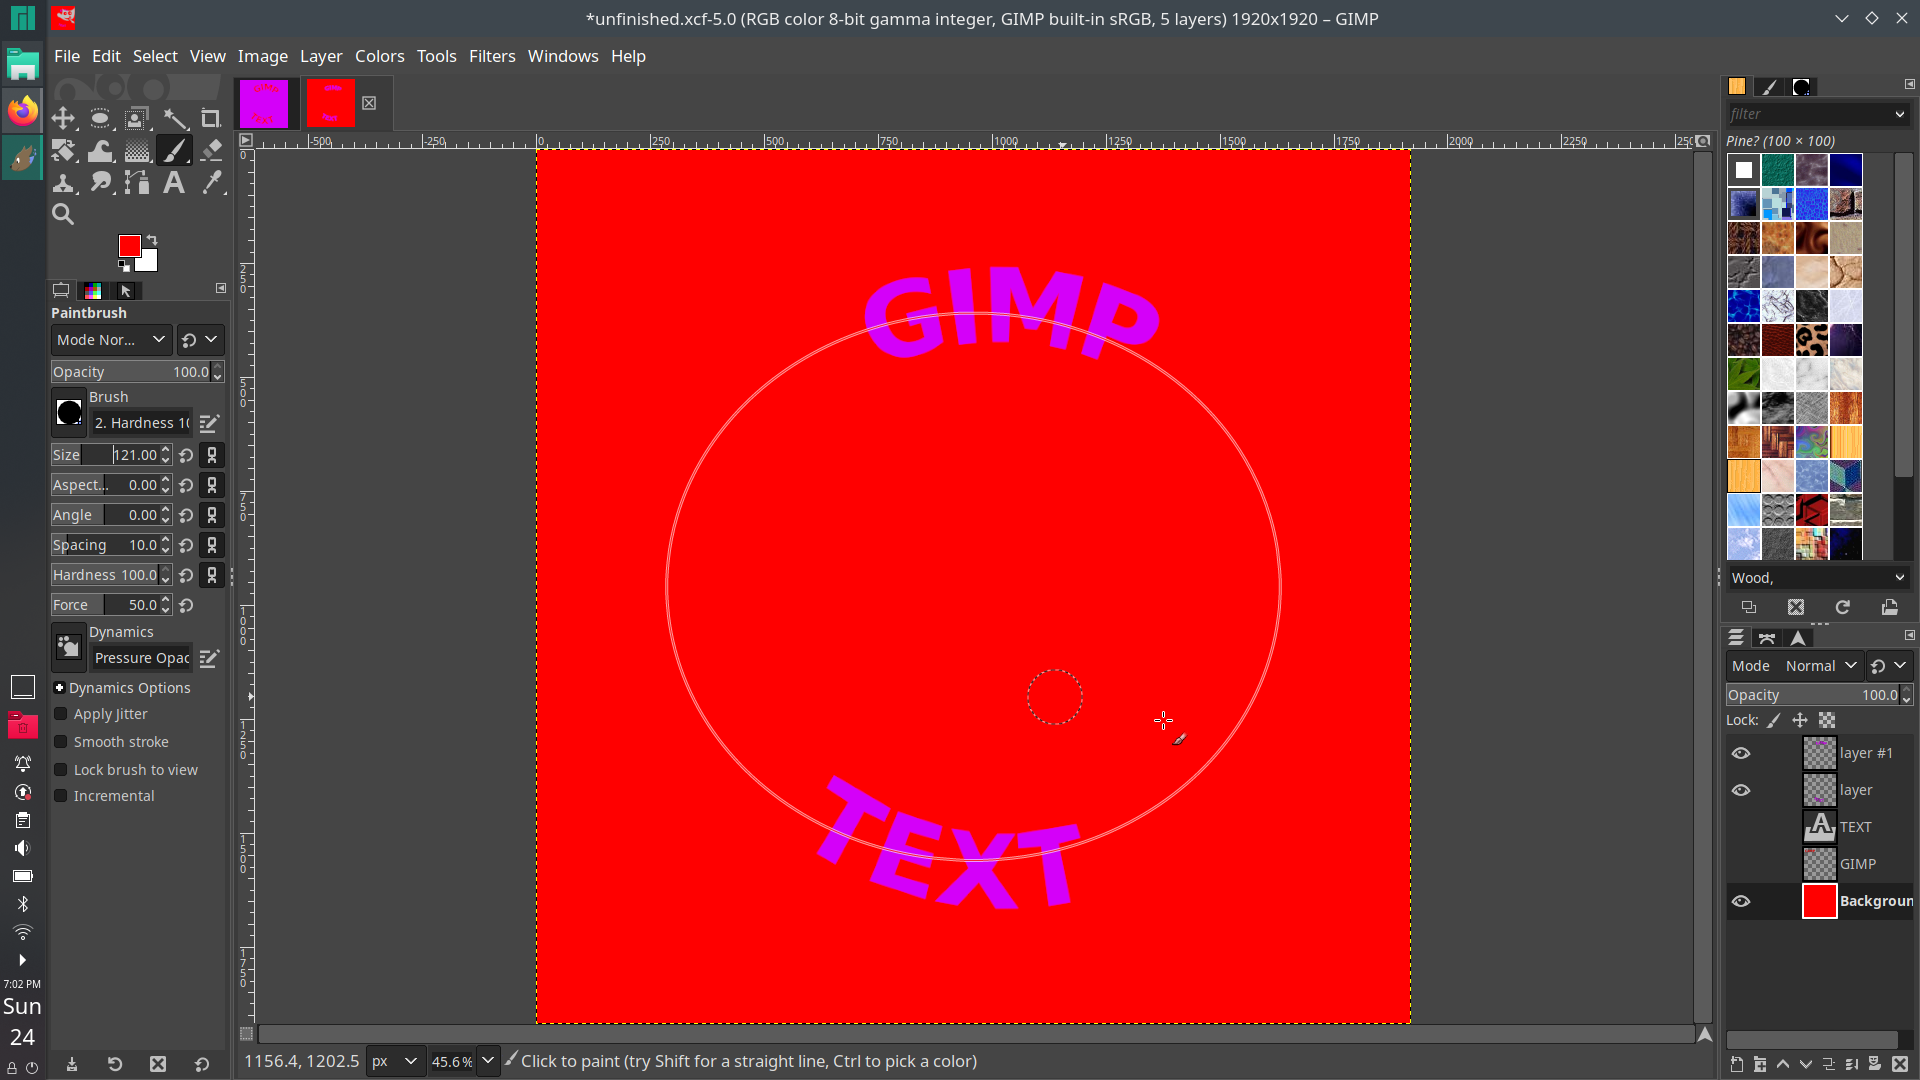
8. Now we have to do almost the same thing and the first one, but now if I did that, it'd be upside down. To solve that I grab the Flip tool and click on the path. Next, I will click on the circle. Now, do the same thing as before: Right click, text along path, and so on. Don't forget to add the layer, because I always forget.
9. Once you finish, it's time to add the backround. Click on the backround layer, and then choose a cool color. Now, go to Edit-Fill with FG color. That's it!!!
Now, you know some cool things with text on Gimp! Bye bye!⌨️👋